first thing, I rarely rarely try to hit a dimension when scraping. Scraping for flat, parallel, square, mating parts, happens all the time...but its just never required to hit a dimension. The closest would get the headstock and tailstcok aligned...THAT is the big sweat, alignment in two planes and the same height to a tenth. So when I say scraping something to a tenth its not 4.000, its square (over 6"), parallel etc to a tenth.
Why? Scraping main use us machine tool reconditioning and tool making. They just require relationships and fits between geometry not particular dimensions.
The late Harry Beckley, one of the more knowledgeable machine too reconditioning guys on Practical Machinist, scraped his flamed hardened 10ee bed. I don't know he did it, I tried, bloody awful.....and that isn't tool steel! For hardened stuff, I grind, really no other way.
The main thing that gets scraped is machine tools. Except for hardened beds (which you send out to someone with a slideway grinder) its all soft cast iron. I think its a useful skill for all sorts of things other machine tool reconditioning (which I do and have done a fair bit of) but if its hardened, scraping is not going to work.
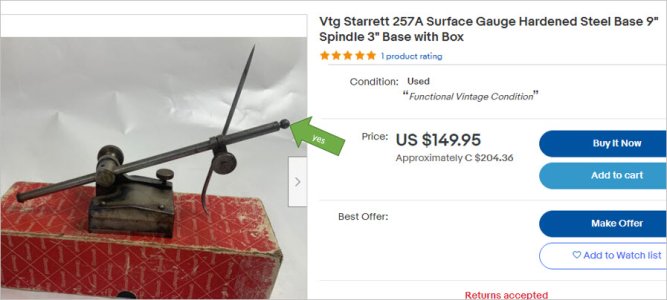
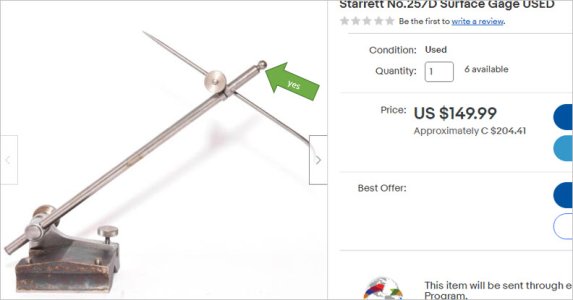
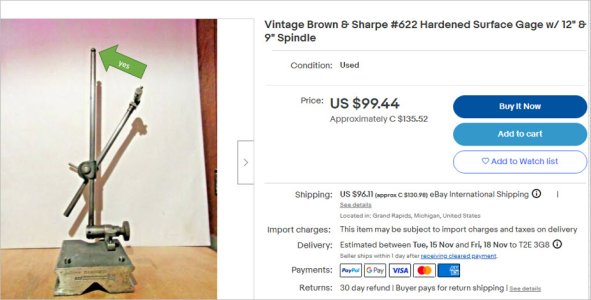
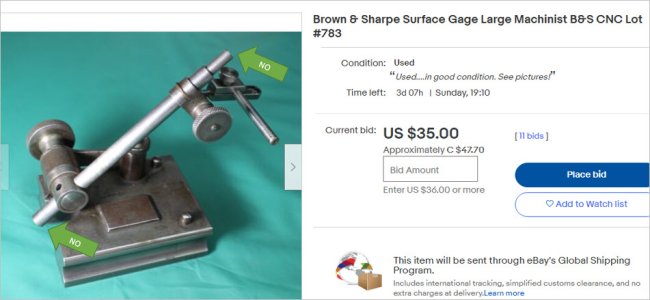
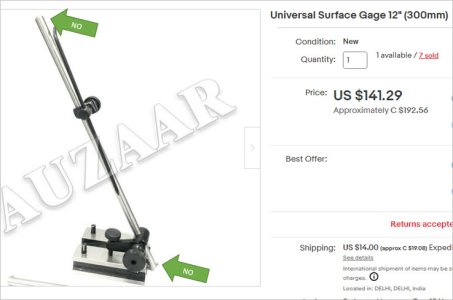
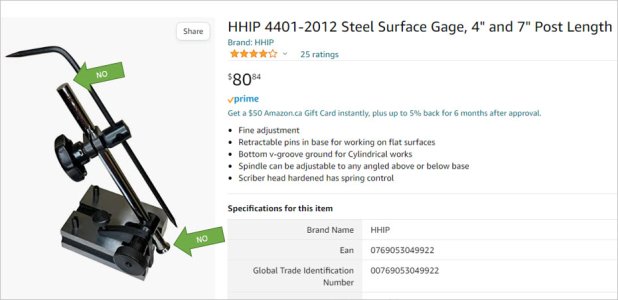
So....your block off the mill (hopefully CI, steel is not that fun to scrape) say you don't have a grinder and want a very accurate block. Scrape one side, call it A. Fairly simple to see how you can get that as flat as the plate (like I say, small DOC and many iterations). Now, pick two sides adjoining A and that are opposite each other, B & C. Scrape B. Start to scrape C. Put B on the plate, indicate the top of C. Scrape C BOTH into flatness and perfectly parallelism to B so an indicator reads zero over the surface (surface of C, while B is the plate. Now....put A on the plate and do the above indicator tests. Rework A until its both flat and square to C & B. continue around the block. Incidentally I've satisfied myself as the accuracy of the surface gauge ball technique by clamping a certified Mit bevel section square (bought new and calibrated and only taken out of the box for such inspections) to the work and indicating it. results are with a tenth over 6"
Lastly, you mention "over that distance", do you mean the 6"? Everything varies including grade A plates. My 18x24 Starrett (bought under calibration and lighted used since) is supposed to be i think flat for 1.5 tenths over the 30" diagonal. What are variations along they way and do material affect what I'm seeing? Don't know for sure, except I get the same readings I measure in different spots on the plate, and when scraping it doesn't change the patter if can take a print from a different spot on the plate (suggesting any variance is around tenth or less)

