• Scam Alert. Members are reminded to NOT send money to buy anything. Don't buy things remote and have it shipped - go get it yourself, pay in person, and take your equipment with you. Scammers have burned people on this forum. Urgency, secrecy, excuses, selling for friend, newish members, FUD, are RED FLAGS. A video conference call is not adequate assurance. Face to face interactions are required. Please report suspicions to the forum admins. Stay Safe - anyone can get scammed.

Cambridge - machinist newb

This is an exaggerated sketch but just trying to depict the narrower top slide body just visually eyeing your stock relative to existing top slide. Maybe its more of a photo thing that makes it look smaller. I didn't read through all your dimensions. But anyways the unsupported remaining (white triangle) area is what I was saying ideally should be minimized. What dictates the TP block angle is you may want to have your compound set at a certain preferred angle, but your TP still needs to be close to square to the work, so the rotation is the byproduct. Hope this makes sense. If I'm way off base on the size, just ignore. Thats all I was trying to say. Ya see how all these issues kind of stack up & just getting a smaller TP kind of isn't too crazy huh? LOL

That's too funny. I noticed the same thing but decided it was an illusion so I said nothing. I'm glad that you did.

And ya, the more support the better. It might be a huge block of steel, but even the biggest block bends. It is not if, it's only how much.

Ive been noodling a stand alone tool post dedicated to parting. Basically the tool post is also the tool holder. I don't want any unsupported space under the post assembly at all. I want all the rigidity I can get. It would be great if I didn't have to resort to parting upside down in reverse when the going gets tough.
 
Last edited:
You are correct @PeterT, stuff does stack and the suggestion of going to a smaller QCTP does make sense. I'm very lucky in the sense that my time is 'free', i.e. if I spend more time on this, it hasn't hurt my ability to make an income, etc. (pension) - if I placed a value on time then the most sensible course of action would have been to do exactly as you guys encouraged (smaller QCTP).

@Susquatch; between O-virus and attention span/memory issues (dropped on my head too many times) I've noticed that some of my writing is difficult to follow at best... I'm trying. The "edit" tool is great so no-one quote my crap so I can go back and tweak it in the future! ;)

White space - I'm following - IF I cut myself a new 'Tool Slide v4' I can move the tapped hole for the QCTP bolt/securing hardware away from the nose(?) of the tool post (far left in your attachment, QCTP could potentially be mounted more to the right).
Dimensions on the depth of the OEM tool slide and any modified/manufactured versions (or the block of 1018 I have) only differ by 0.062"... as pointed out, it's an illusion if the OEM tool slide appears different in depth (y axis) than any mock-up/the 1018 block.
 
Ya, I've kind of come full circle on parting, but maybe that's just me. Smaller diameters & friendlier alloys, sure, go for it. I have a band saw & it's purpose in life is to lop off material quickly & efficiently on a pretty inexpensive & long life blade. Why beaver through a log on a lathe. Grooving, recessing & parting to a dimension is a different matter of course. But every opportunity to remove the part & saw it, I do. Often times parting is rough sizing & has to be machined again on that end anyways, which means the part is removed. Not always but many times. If its a big diameter piece like say 3-5" it is outside parting range stick-out so I'll often leave it chucked, clamp the chuck+part assembly in the saw vise & lop it off that way. Everything held securely & square. Just beware chips migrating into jaw works but have an easy fix for that
 
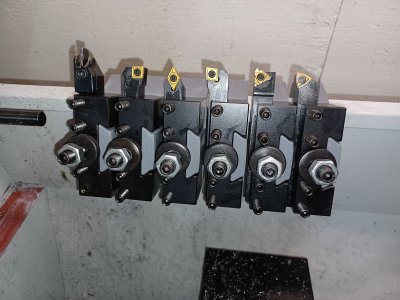
I'm fully committed to the BXA tooling now... I spent $6 on filament to make these holder holders. (jokes)

They're the same as one of the members posted about somewhere else on this forum: source was Thingiverse
20220115_175423.jpg

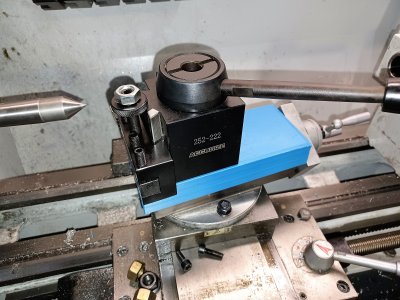
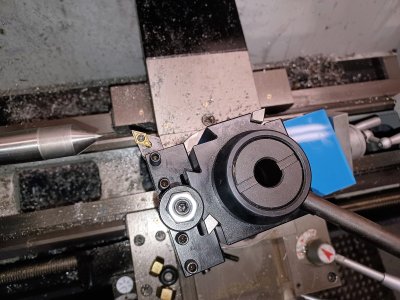
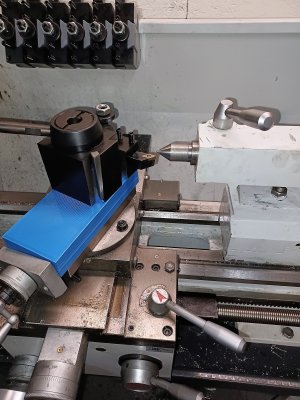
'Tool Slide v4' mock-up - addressing the "white space"
20220115_175413.jpg20220115_175419.jpg
Look okay?
 
20220115_175353-jpg.19821


I wouldn't trust this to provide an indication of your spindle CL lol:eek: Put your dead center in the tailstock and use that for reference.
 
Last edited:
More newb questions: cutting coolant/spray?
I haven't run across this yet on the forum and I'm sure it's been addressed... I burnt up an annular cutter a couple of weeks ago because (I'm me) I was impatient, used the wrong cutting speed because I was impatient and didn't have things locked down properly, failed to look up info on the cutter that would have told me to use a cooling spray (because I was impatient, of course), and when it started turning blue and sparking I figured it was related to where/what I was using it on and impatiently pushed through (good thing I'm not employed by anyone here, eh?). So; back to cooling spray... I've made the assumption that the spec sheet refers to using more coolant than just a can of WD-40.

Fuch's Lubricants (local to Cambridge) sponsored a regional racing series last year so I looked at their products first and spec'd an all purpose cutting fluid (EcoCool 711 C) that is "water miscible". (10-20:1 mix ratio)

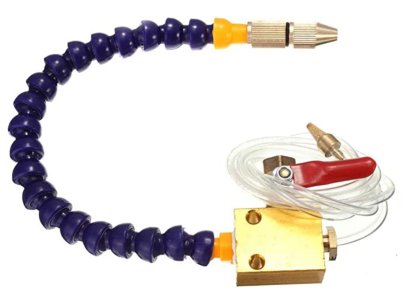
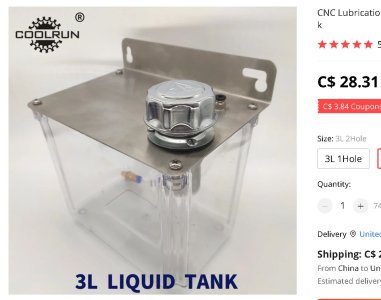
I've Amazon'd a cheap coolant pump and intended on making/buying (I need some pan and brake and TIG practice) a coolant tank (see photos).
coolant mist pump.JPG Coolant Tank.JPG

My horizontal bandsaw would likely use the cutting coolant the most unless I upgrade the CX611 to CNC - I assume the possibility of retrofitting the milling machine to a CNC is a variable that should be shared for best advice.
I hate tripping on shit... the milling machine and bandsaw are in the middle of the floor right now but I have intent to move the mill against a wall soon - air supply to the mill or lathe shouldn't be an issue once I set them up in their permanent locations - it would be preferable to go to an electric pump that I could piggy back my 110v band saw off of so I have one chord but that "improvement" realistically isn't worth the time/effort and would be a couple years off in a best case scenario... the bandsaw is an interim piece of equipment and hopefully will be replaced in 5 to 10 yrs (if it lasts that long) - bandsaw is a CX116 (https://www.busybeetools.com/products/metal-bandsaw-5in-with-swivel-csa-cx116.html) - the cabinet below it is hollow but difficult to access.

Input/ideas/suggestions welcome encouraged.
 
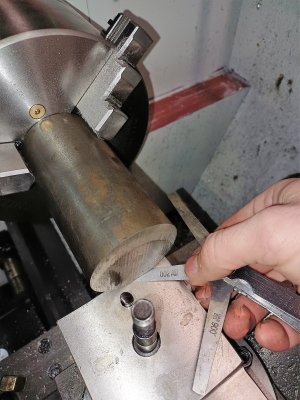
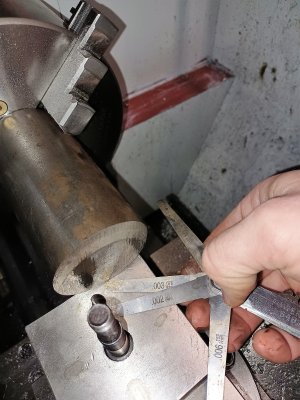
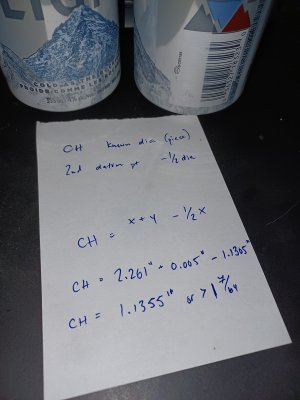
An *accurate* way to measure your centre height is to turn (in any chuck) any known diameter as measured by a micrometer. It only need be circular, not any particular dimension. You measure down to your second datum point and subtract half of the diameter.

You will always know how far UP to go from that datum point. This is how a lathe standard is made. If your datum is a flat surface, you can use gauge blocks to build up to the bottom of the turned piece and you can get a sub-tenths measurement, but that is piffling about.
 
Last edited:
I burnt up an annular cutter a couple of weeks ago
Sorry to hear that. I use annular cutters all the time now, but I mix up some soluable cutting oil into a Zep sprayer (a decent quality sprayer that is cheap) and squirt the heck out of it. To make it harder to freeze, instead of using 40:1 i use about 10:1 and it works very well for annular cutters, and it doesn't freeze at -5 which is what my shop gets to in the winter sometimes...
 
I have never taken so many pictures in my life as this week.

@Dabbler - a zep spraying makes soo much sense, thanks.

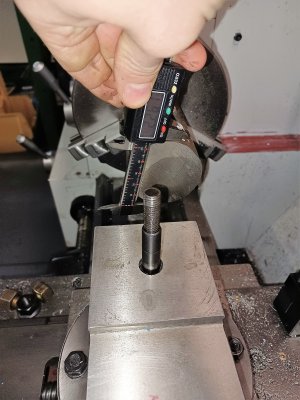
@YYCHM - I "fixed" the mistake you pointed out and am now using the tail stock to measure C/L w/
20220115_194239.jpg

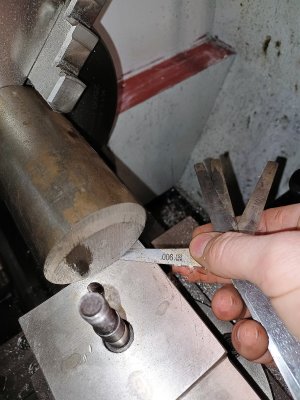
Dabbler - so in my case, (I 100% fluked into this btw, I just grabbed the nearest piece of stock not even thinking that it could potentially be too big and lucky for me, it wasn't) the diameter of my piece is 2.261" and I was able to fit 0.005" worth of feeler gauges in (I may have been able to get the 0.006" if I had deburred the edge, practicing theory here) (don't judge the feeler gauges... they've been in my toolbox for over 20 years to gap sparkplugs and are the only imperial ones I own)...
20220115_194733.jpg 20220115_195306.jpg 20220115_195247.jpg 20220115_195254.jpg 20220115_200855.jpg
Therefore my Lathe Center Height is 1 7/64" from the top of my... from my... (the tool slide is only a component of this) cross slide(?)... right?... which also means my inaccurate way of measuring got close to the right number, again, pure fluke because I'm learning pretty hard here.
 
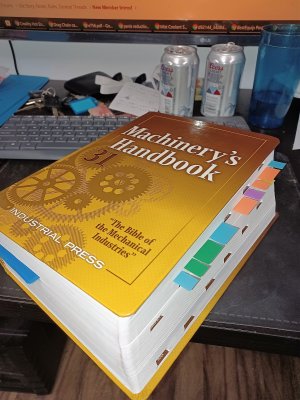
I've also been trying to do my own homework here... I've made it partially through this book and I'm trying to read as many of the forums as possible.20220115_202917.jpg

Everyone's help and advice is really appreciated.
 
Fuch's Lubricants (local to Cambridge) sponsored a regional racing series last year so I looked at their products first and spec'd an all purpose cutting fluid (EcoCool 711 C) that is "water miscible". (10-20:1 mix ratio)

Some use a spray, or a mister. I use a dropper bottle. It's actually a vegetable oil dispenser my wife got. When it was almost empty (I got impatient), I went and got her a new bottle of oil, dumped the old one, and filled it with my favorite cutting oil. "Vipers Venom" available on Amazon. This stuff is great for all ferrous metals. It's sticky and doesn't drop off easily. I love it. It's a high sulphur oil so it smells great too..... ;)

I use WD40 with the straw that comes with it for aluminium.

I prefer the dropper and fine straw cuz it gets the fluid where I want it.
 
Went looking for the Viper's Venom on amazon.ca w/ no luck - I saw it on some other sites and have the window still open to revisit later.
 
This being buried on the fourth/fifth page of an intro is convenient for me - there could be other places to post it, but I'd rather not start any new threads.

Again, so very thankful to have found this group of people - I've needed someone(s) to bounce ideas off of, to share my success and share my fails with. If you haven't caught on yet - staying focused is a challenge for me, I'm either struggling or super super engaged to the point where I'm forgetting to eat and the back injury makes it really hard to get in the state of 'hyper focus'.
I've been planning on building a shop to build racecars in for at least 24 years and am finally getting to do it - that also means I have 24 years of ideas/plans/goals to work through. I've written all of these out for myself previously and it's been cool to see how accurate some of the accomplishments have been a few years later having completely forgotten that I had previously planned/researched (the lathe an milling machine I bought were the same ones I hypothetically decided on in 2017).

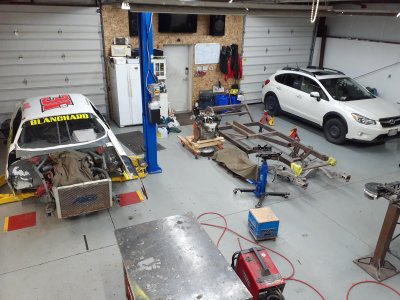
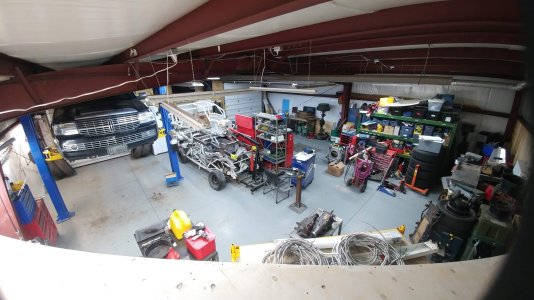
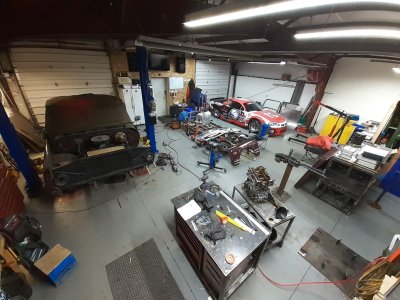
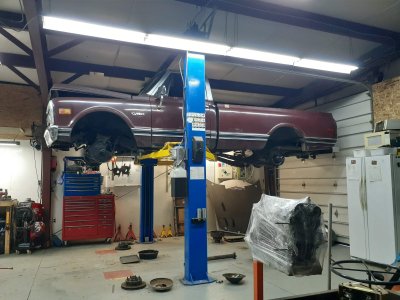
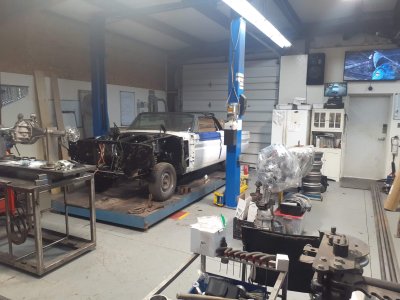
So here's a list of SOME of the stuff I'm currently pursuing; I'll post pictures of the shop, equipment, toys, etc. and continue to ask silly questions.

Shop build:
Bathroom install
- trench water and new electrical into shop (100 amp shop panel has already been upgraded) (new electrical includes separate conduit for low voltage wiring)
Complete protective framing and paneling (plastic/vinyl diaper style insulation on a steel beam building; paneling to protect from sparks/heat but has other advantages)
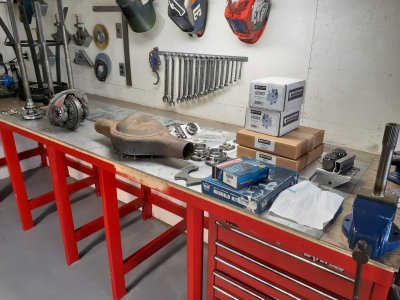
Build barrier wall to help contain machining mess/create a "clean" assembly area for automotive parts (differential assy, calipers, master cylinders, other components)
Install racking on wall for tube lengths
Propane tank reinstallation
- add leveling material, level, compact
- propane tank installation
- gas line extension and hook-up
Future: organize and customize 40' sea container that was recently installed (created the propane tank project)

Shop equipment:
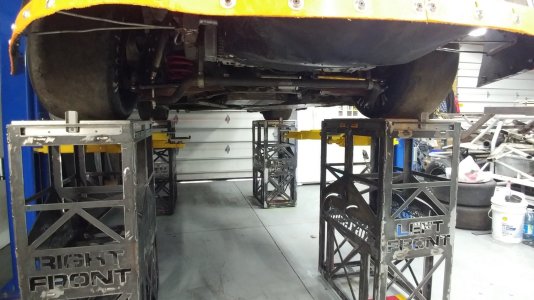
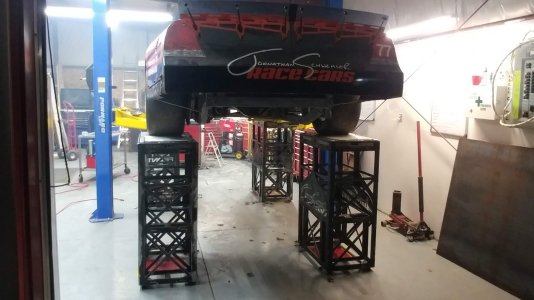
48" high scale/load cell pads (future capability of compressing the suspension against itself by placing beams under the load cell pads and drawing the beams up to the frame creating force but not weight - may or may not use load cells in the process... higher capacity racing scale systems, or at least high enough to pull against, are about $5k and there's other things that I'd like to prioritize)
- assists in alignment... we're trying to align the car to create the most amount of grip in the corners; if we align it (kind of like measuring using a base plate) how it's going to run down the straightaways we're not being very accurate
- identifies binds/flexes (we have a better chance of identifying chassis flex and the inherent inaccuracy created by it)
- these have been built and used, but not finished or prepared for the "pull-down" aspect
48" box and pan brake (needs mobile base fabricated)
CX 611 milling machine (needs mobile base fabricated)
- DRO
- power feed
- coolant system?
- CNC retrofit?
- learn to maintain and operate it
- quill mechanism broken/never operated properly - determine if it's needed and repair if necessary (something to do w/ the fine feed, wouldn't disengage)
CX 709x lathe (needs mobile base fabricated)
- install QCTP tool post
- DRO
- learn to maintain and operate
- replace motor to enable more spindle speeds/RPMs?
CX 116
- coolant system?
- maintain

*by mobile bases I mean something like a 2"x2" tube frame w/ levelling feet that I can attach the equipment to and move if it's necessary; they don't need to have casters on them because they likely won't be moved very often... (exception the box and pan brake) ability to move them is an "in case"... raising them to more appropriate working heights, providing the equipment w/ stable bases and the ability to level are the necessary tasks

Lincoln 225 TIG/Stick
- repair gas solenoid (ordered)
- fab mobile cart
- distant future upgrade (Aspect/inverter ~300amp AC/DC TIG)
Lincoln 180 MIG
- replace it's version of a mother board
- send it to Dad so he has a welder
- distant future upgrade to (ideally) an LE 260 a 256 may be another option
Lincoln 275 Plasma
- cart/add to 225 cart
Lincoln 180 MIG (#2)
- fabricate cart
oxy acy bottles/torch
- fabricate cart
*I like things on wheels... many, many carts apparently
JD2 Model 3 bender
- mod stand
- have 1.75" x 6.5 clr dies
- 1" dies have been ordered and shipped
- design organization for air/hydraulic pump and hydraulic ram (if needed)
12 ton hydraulic shop press
- machine adapter for press brake finger and mate
- fabricate mobile base?
Hoist
- machine internal threaded adapter to replace bent one
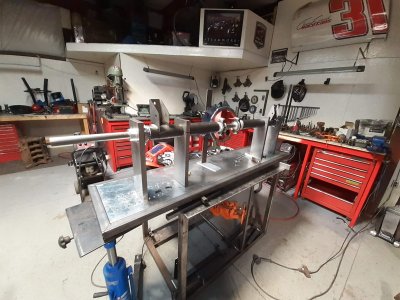
Chassis table/frame jig/surface plate (7'x16', 6"channel topped w/ 5/16" plate)
- fab/install leveling feet/legs (machine jacks? - needs enough height for hoist legs to go under - risk of breaking/bending leveling legs if they protrude below bottom plane when moving w/ tractor)
- fab/install attachments to facilitate moving w/ tractor (weighs 2700#)
- score/grind/cut/some method permanent center line
- score/grind/cut/some method permanent front and rear axle lines (needs to be square, I'd like to avoid protrusion from surface)
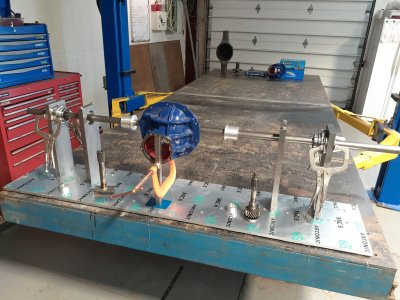
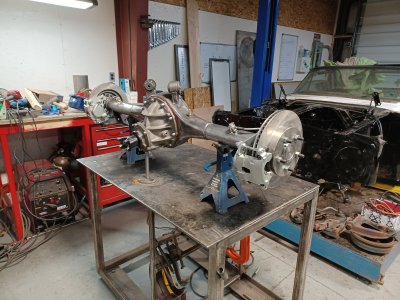
Rearend fabricating fixture (fab mobile base)
Spindle fabricating/measuring fixture
- design and fabricate
Control arm fabrication fixture
- design and fabricate
Other misc. shop stuff as needed (brackets, hangers, etc.)

Car builds:
'96 Harley - repair/rebuild carb
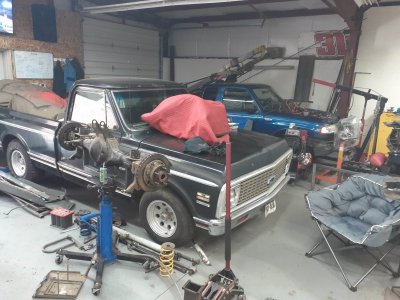
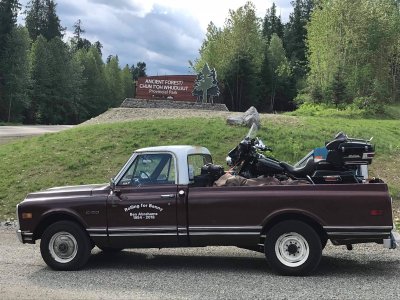
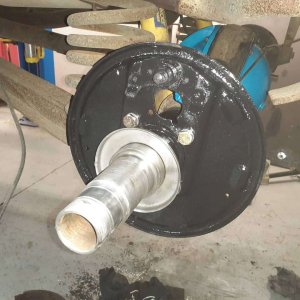
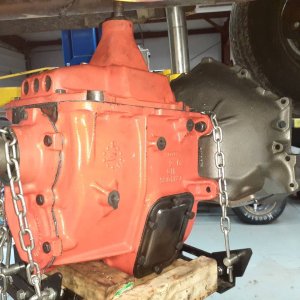
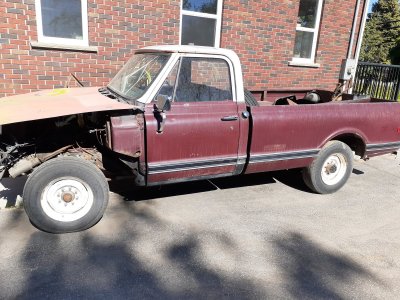
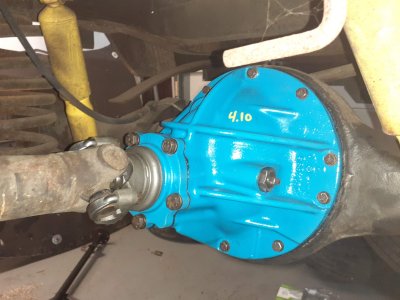
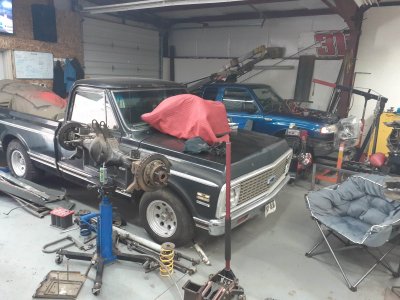
'71 C10 - retromod build for wife; complete body, move firewall, 6.0L LS swap, build frame, tubular upper and lower control arms, Ford 9"... $15k for parts set aside, most parts in shop/sea can
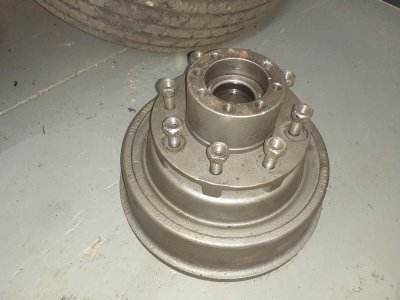
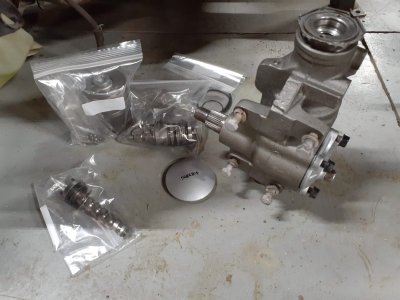
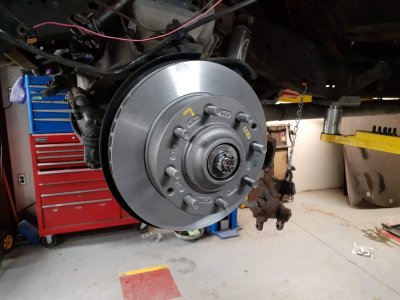
'69 C20 - power steering box rebuild, rear brakes rebuild - sold
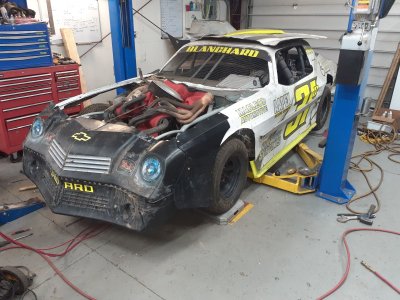
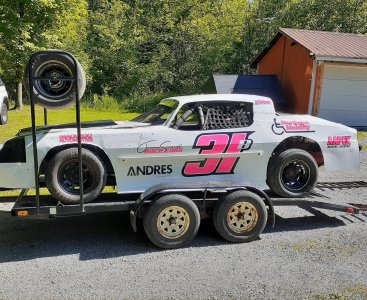
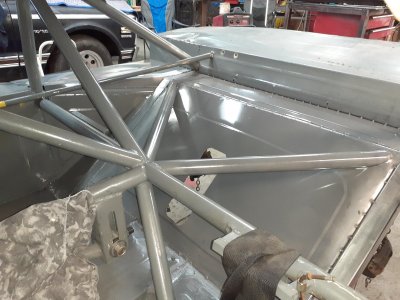
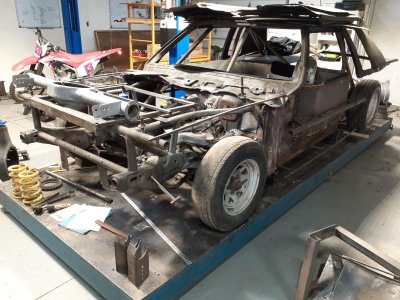
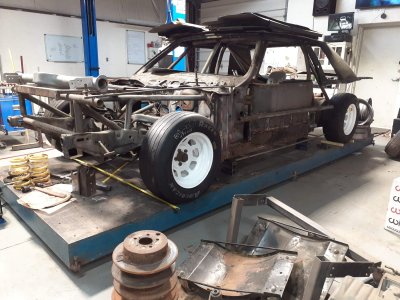
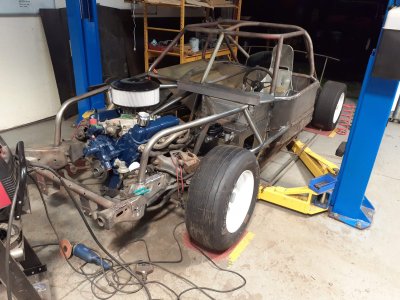
Street Stock - '88 Monte Carlo based stock car build for friend's 11 yr old son - may/may not happen - responsible for frame, cage and body fabrication
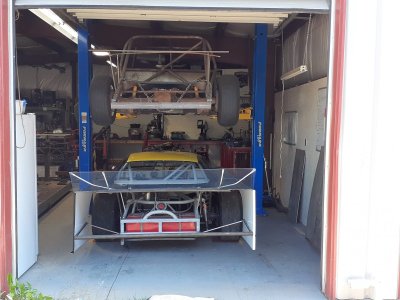
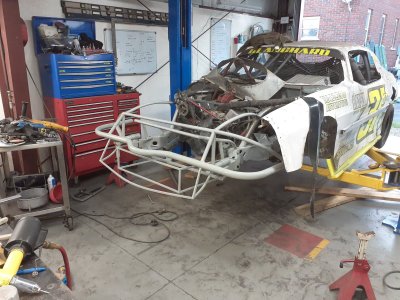
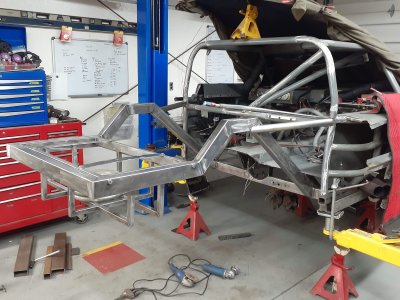
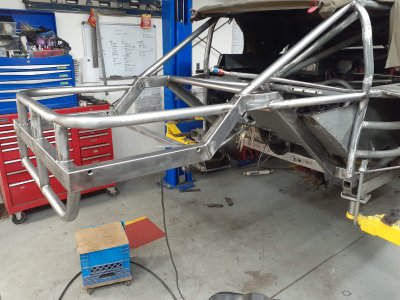
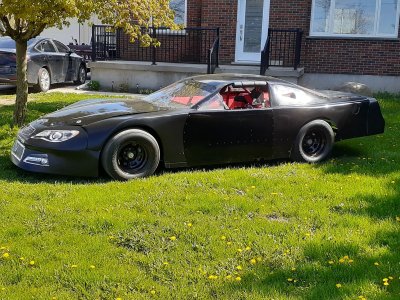
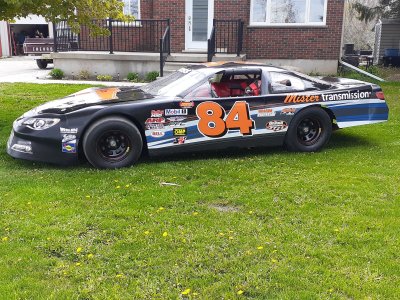
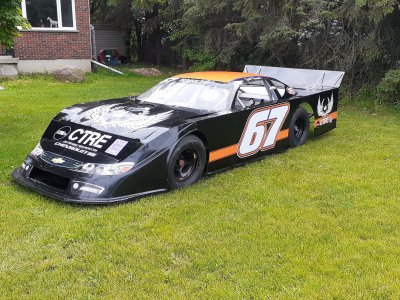
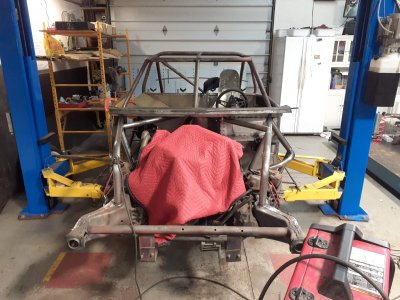
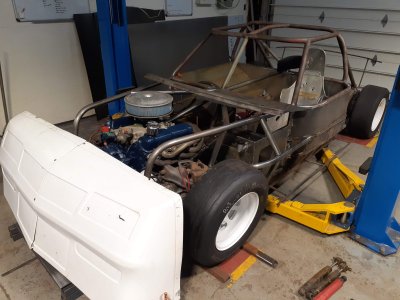
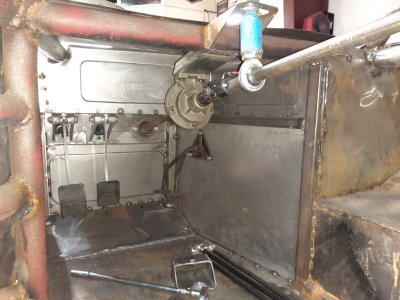
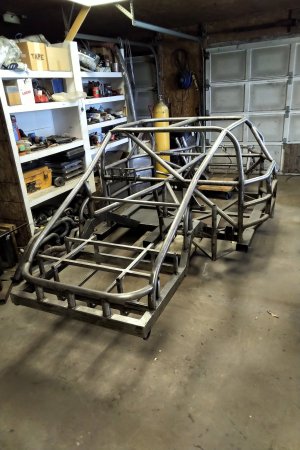
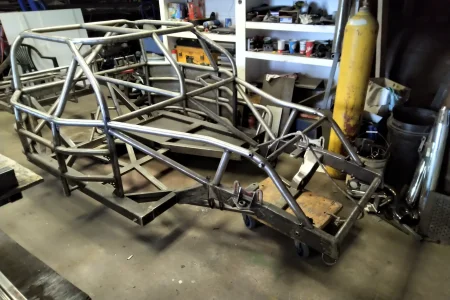
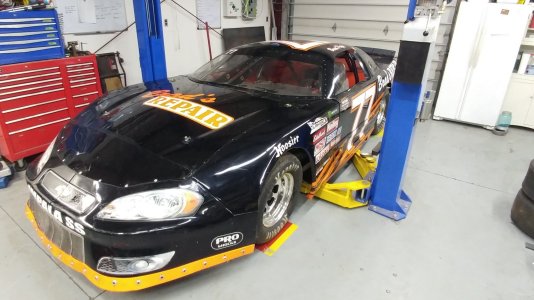
Late Model - brand new (built in 2018, still bare) NASCAR Pinty's Series chassis from reputable builder (great deal... bought at cost of material essentially) - build for self
- I have majority of components to assemble but this is just a cage/frame and needs a lot of fabrication
- engine I have/willing to spend $ for is underpowered but has 150# weight advantage (minimum weight of the car is only 2850# instead of 3000#) ... considerable effort must be made to take advantage of the weight savings and make the smaller engine package competitive (meaning lightening parts where possible by machining)
- can make molds for vacuum forming composite parts using big 3D printer (recently purchased) (friend makes composite windmill blades & components for luxury yachts)
- creating data logging Arduino to replace gauges w/ LEDs (engineer friend assisting when he's in country) (race car drivers don't read gauges... different coloured idiot lights work better; green=good, red=bad, orange=concern, blue=cold) lighter and 1/10th the cost of gauges - data logging capability may be limited to practice use only, would provide data to establish chassis heights, etc. for pull down system described above
- build rearend in previously fabricated fixture
- build own lower and upper control arms, possibly own center link, idler arm and pinion arm
- modify/build other parts that I can't be specific about (welding, plasma CNC cutting, machining, 3D printing, vacuum forming - necessary equipment may need fabricated for these)
Crew Cab dually - replace/repair (San Diego trip for wedding in future best opportunity for replace)
Open car trailer - purchase/modify for racing (had commissioned one 2 years ago, fabricator kept deposit and flaked)
Enclosed car trailer - empty into sea can - have reskinned, re-axled (connection teaches trailer repairs, needs work for demo/practical)
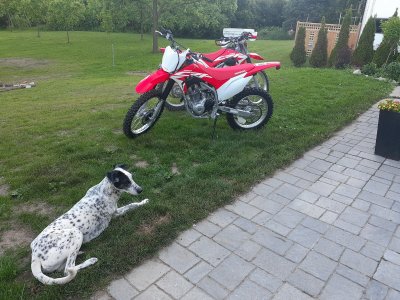
Dirt bike(s) - mine's at friend's shop for engine enhancements, wife's (same model) needs seasonal maintenance
Track car project - back burner'd while life happens - project w/ friend... crazy ideas using cheap, readily available, reliable components - a "f" you to another friend type of project "can't be done" he says

Plus, plus, plus
 
Shop pics:

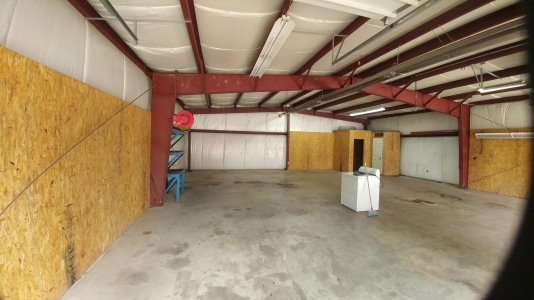
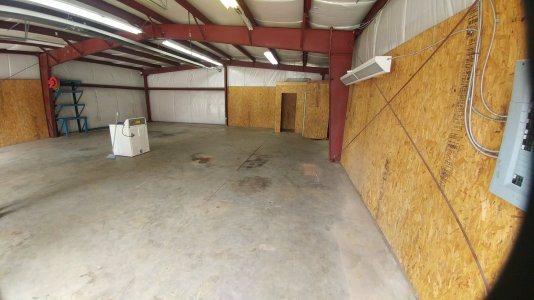
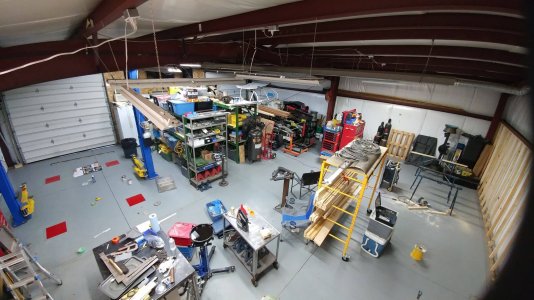
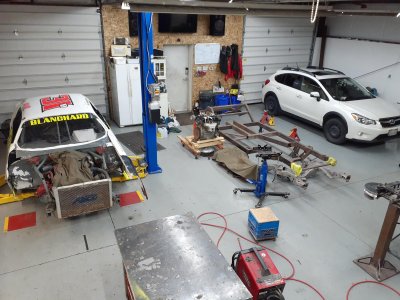
2018 when we bought it - completely stripped it afterwards - took a month of scrubbing, etc. to get all the oil out of the floor
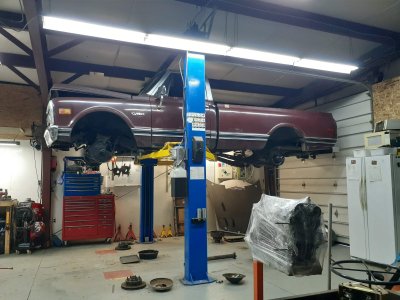
20180730_132121.jpg 20180730_132141.jpg

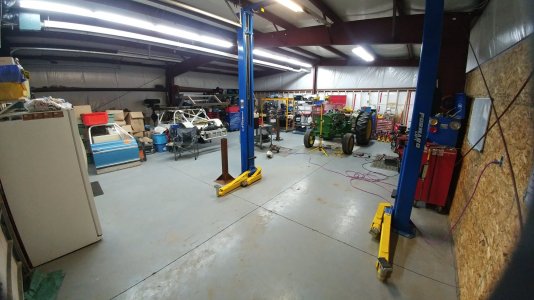
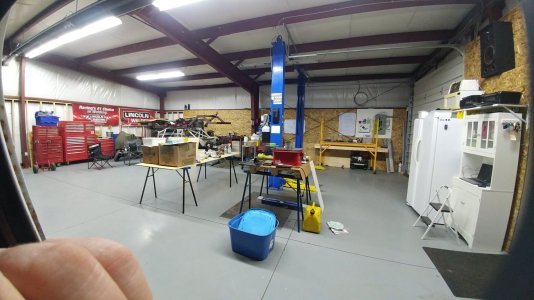
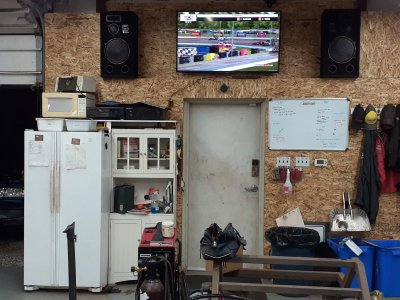
Progression (in orderish)
Message_1544131815477.jpg20181228_235652.jpg20190704_000727.jpg20190318_160229.jpg20190818_204900.jpg20190818_095751.jpg20190831_124015.jpg20210612_172403.jpg20210501_110746.jpg20211102_121504.jpg
 

Attachments

  • 20210506_160119.jpg
    20210506_160119.jpg
    416.3 KB · Views: 8
  • 20210527_092921.jpg
    20210527_092921.jpg
    402.9 KB · Views: 9
  • 55575630_558794047975795_1214584221226500096_n.jpg
    55575630_558794047975795_1214584221226500096_n.jpg
    358.7 KB · Views: 9
  • 20190801_222208.jpg
    20190801_222208.jpg
    463.1 KB · Views: 8
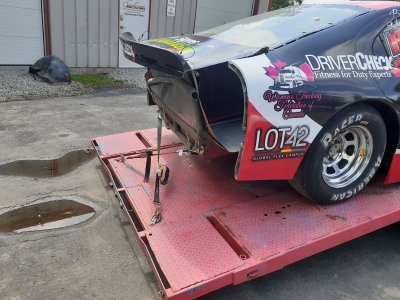
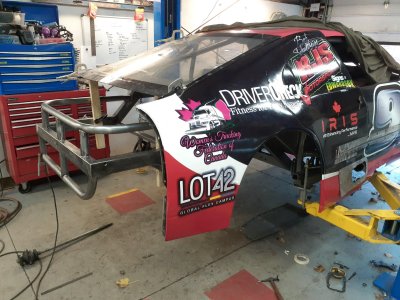
C20 - Harley (bed of truck and background of Petty tribute car; I wrapped and decaled the tribute car)
 

Attachments

  • 20180718_203810.jpg
    20180718_203810.jpg
    439.6 KB · Views: 6
  • received_10102490105636367.jpeg
    received_10102490105636367.jpeg
    631.1 KB · Views: 7
  • IMG_20190827_110941_076.jpg
    IMG_20190827_110941_076.jpg
    72.6 KB · Views: 6
  • IMG_20190827_110941_072.jpg
    IMG_20190827_110941_072.jpg
    93 KB · Views: 5
  • 20210527_092819.jpg
    20210527_092819.jpg
    775.2 KB · Views: 4
  • 20190827_110604.jpg
    20190827_110604.jpg
    426 KB · Views: 4
  • 20190827_110533.jpg
    20190827_110533.jpg
    327.8 KB · Views: 4
  • 20190822_125904.jpg
    20190822_125904.jpg
    361.6 KB · Views: 4
  • 20190822_125829.jpg
    20190822_125829.jpg
    332.6 KB · Views: 4
  • 20190818_095751.jpg
    20190818_095751.jpg
    398.4 KB · Views: 4
  • 20190621_162530.jpg
    20190621_162530.jpg
    406.3 KB · Views: 4
  • 20190621_162521.jpg
    20190621_162521.jpg
    506.4 KB · Views: 4
  • 20190528_114204.jpg
    20190528_114204.jpg
    233.9 KB · Views: 4
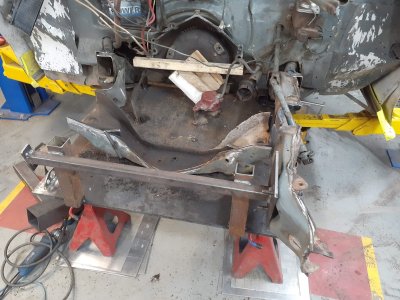
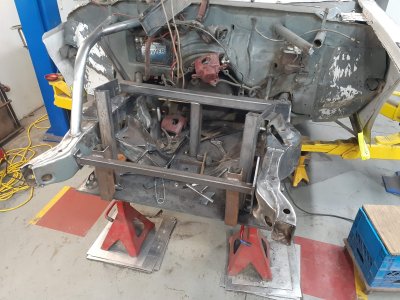
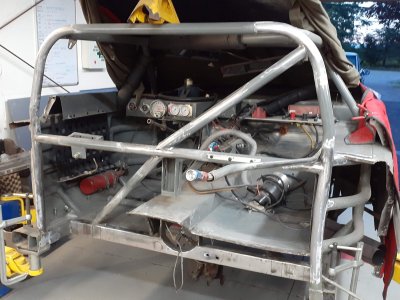
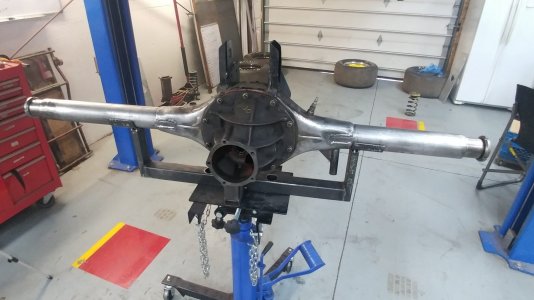
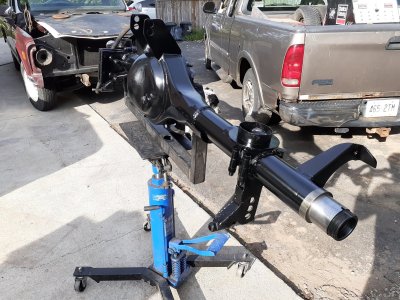
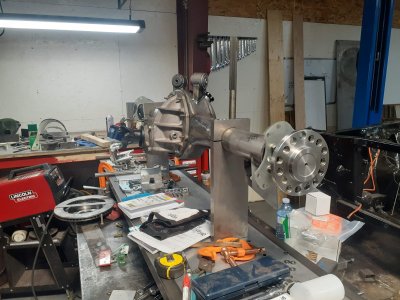
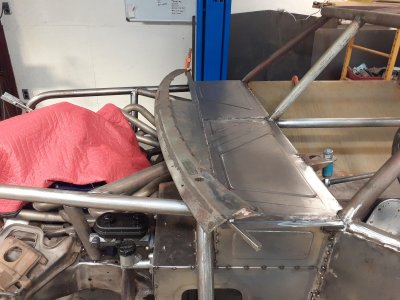
C10, stock car repairs (front and rear frame sections [clips]), Ford 9" repairs/builds
 

Attachments

  • 20190831_124015.jpg
    20190831_124015.jpg
    452.6 KB · Views: 2
  • 20190704_000727.jpg
    20190704_000727.jpg
    468.1 KB · Views: 2
  • 20190702_102312.jpg
    20190702_102312.jpg
    708.1 KB · Views: 3
  • 20190708_152036.jpg
    20190708_152036.jpg
    460.2 KB · Views: 3
  • 20190718_062621.jpg
    20190718_062621.jpg
    461.8 KB · Views: 3
  • 20190726_201811.jpg
    20190726_201811.jpg
    543.1 KB · Views: 2
  • 20190730_153724.jpg
    20190730_153724.jpg
    510.3 KB · Views: 3
  • IMG_20200613_165312_005.jpg
    IMG_20200613_165312_005.jpg
    1,000.5 KB · Views: 3
  • 20190818_135053.jpg
    20190818_135053.jpg
    614.4 KB · Views: 3
  • 20190907_195152.jpg
    20190907_195152.jpg
    393.4 KB · Views: 3
  • 20190909_122438.jpg
    20190909_122438.jpg
    442.8 KB · Views: 2
  • 20190912_094022.jpg
    20190912_094022.jpg
    440.1 KB · Views: 2
  • 20190914_080508.jpg
    20190914_080508.jpg
    426.2 KB · Views: 2
  • 20190914_085953.jpg
    20190914_085953.jpg
    484.8 KB · Views: 3
  • 20190915_100443.jpg
    20190915_100443.jpg
    428.1 KB · Views: 3
  • 20190516_152411.jpg
    20190516_152411.jpg
    256 KB · Views: 2
  • 20190919_165607.jpg
    20190919_165607.jpg
    719.8 KB · Views: 3
  • 20211031_211057.jpg
    20211031_211057.jpg
    412.8 KB · Views: 3
  • 20211118_124340.jpg
    20211118_124340.jpg
    462.7 KB · Views: 2
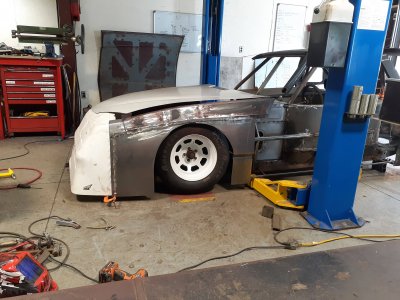
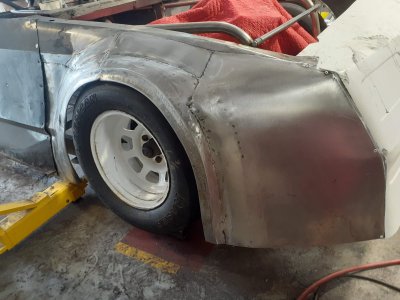
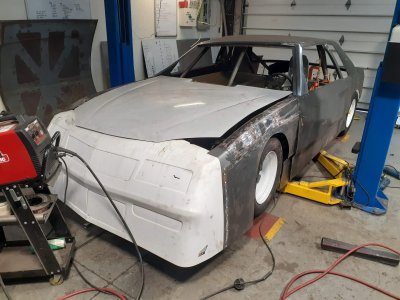
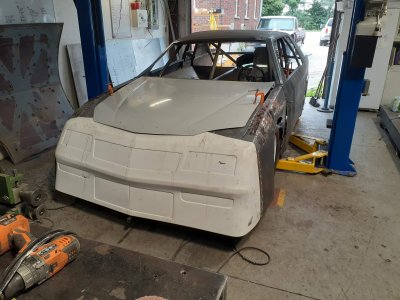
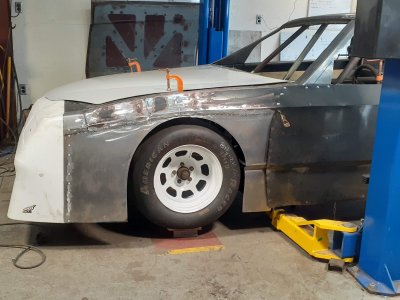
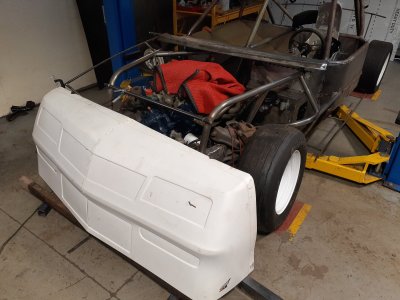
Redesign and build of a Street Stock this past summer for a friend... tried expanding my sheet metal skill sets by using a bead roller to form the RF fender. Forgot to take pictures as it got finished up... thing looked bad@$$... the unsquareness of the nose, roof, etc. was intentional for aerodynamics (always turning left).
 

Attachments

  • 20210712_154858.jpg
    20210712_154858.jpg
    470.3 KB · Views: 1
  • 20210715_180042.jpg
    20210715_180042.jpg
    364.9 KB · Views: 2
  • 20210716_123512.jpg
    20210716_123512.jpg
    365.9 KB · Views: 1
  • 20210716_162854.jpg
    20210716_162854.jpg
    431.7 KB · Views: 1
  • 20210716_163309.jpg
    20210716_163309.jpg
    346.1 KB · Views: 2
  • 20210709_173808.jpg
    20210709_173808.jpg
    440.1 KB · Views: 1
  • 20210709_123812.jpg
    20210709_123812.jpg
    475.6 KB · Views: 2
  • 20210709_123804.jpg
    20210709_123804.jpg
    445.5 KB · Views: 1
  • 20210527_093032.jpg
    20210527_093032.jpg
    503.3 KB · Views: 1
  • 20210531_214521.jpg
    20210531_214521.jpg
    470.5 KB · Views: 1
  • 20210629_144103.jpg
    20210629_144103.jpg
    345.4 KB · Views: 1
  • 20210707_214604.jpg
    20210707_214604.jpg
    399.1 KB · Views: 1
  • 20210707_214734.jpg
    20210707_214734.jpg
    467.4 KB · Views: 1
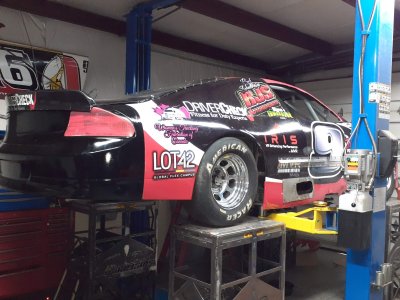
My 2022/23 car
94183767_2678756589071112_3543616201252929536_n.jpg261200316_944021016241324_1426731706409772927_n.webp

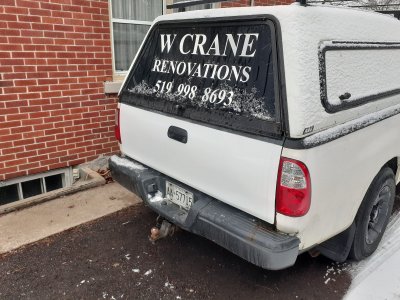
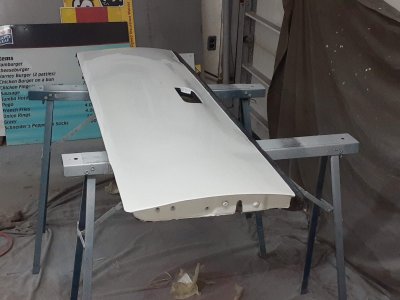
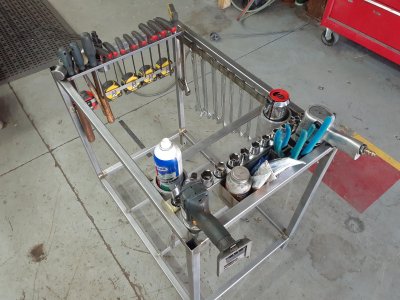
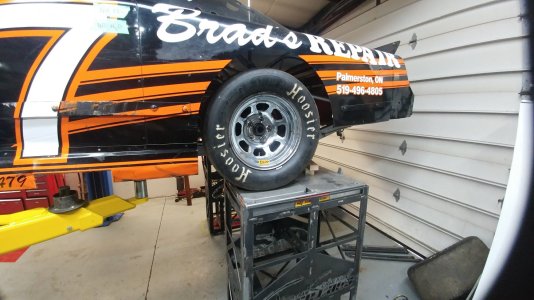
The remainder are other random projects/toys that I've been working on - a friend's tailgate was rotted out so I did a repair... never doing autobody/painting in my shop again... hated how dusty everything got. There's anti-seize in the tool cart to prove that I know what a lubricant is.
 

Attachments

  • 20201114_103436.jpg
    20201114_103436.jpg
    693.8 KB · Views: 2
  • 20200625_200830.jpg
    20200625_200830.jpg
    871.9 KB · Views: 1
  • 20200127_101434.jpg
    20200127_101434.jpg
    587.1 KB · Views: 1
  • 20200126_183236.jpg
    20200126_183236.jpg
    319.5 KB · Views: 0
  • 20191001_113627.jpg
    20191001_113627.jpg
    470.6 KB · Views: 1
  • 20190518_103743.jpg
    20190518_103743.jpg
    319.1 KB · Views: 1
  • 20190427_114140.jpg
    20190427_114140.jpg
    317.3 KB · Views: 1
  • 20190427_112918.jpg
    20190427_112918.jpg
    288.9 KB · Views: 0
  • 20190426_212227.jpg
    20190426_212227.jpg
    252.8 KB · Views: 1
Back
Top