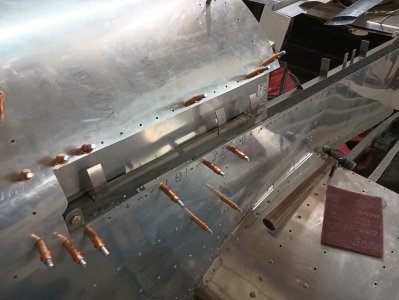
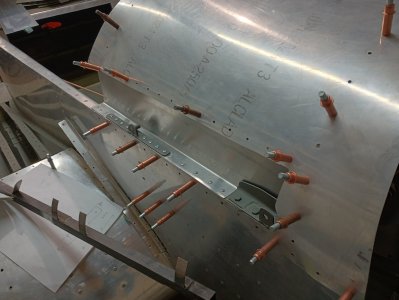
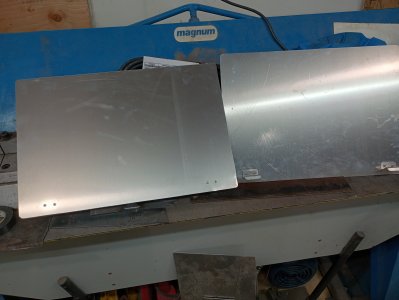
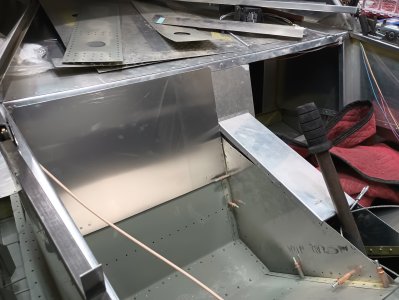
Picked this projects up july 2023, I have finally started to work on it over the last month or so.
Its a pretty old project, the logs i have state the original builder started it in 1992, then sold it to a guy in Hanna Alberta, again in 1992, that guy sold it to two brothers in calgary in 2009, those two didnt do much other than buy parts (yey for me!), i then bought it from them in 2023 when it was time to sell the hangar it was in, firesale prices.
it came with plans, a mostly completed fuselage, logs, new gear, msc gauges, gps, radio, brakes, cannopy hardware, some tools, 2 gantry cranes. I find new things every time i look in the various boxes it came with.
It is a plans built aircraft, it doesn't quite have the perfect fitment of something like a vans and i suspect that will affect the cruise speed, not that this model is a speed demon, im hoping it will cruise at 100mph, but i feel i may be more realistic to hope for 85-90. If i want more speed there is the option to build a new outboard set of "speed wings" that bolt directly on, they are shorter, and tapered, giving it a higher cruise speed, sacrificing stall, take off distances higher landing speed, etc. I have the HD wings, so that is what im going to go with for now.
I have no real timeline for this, im just plugging away at little things until summer hits and i can drill out the wings for the pre-cover inspection, wich looks to have been done, but there is not official paperwork supporting it
Bringing it home
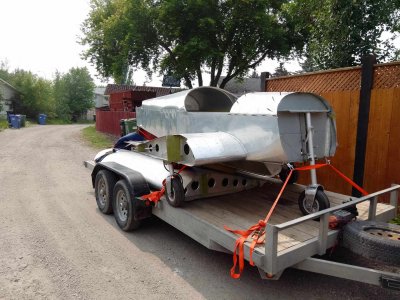
Bought a 0 time converted corvair engine with mount from a guy in Saskatchewan, delivered it to my door saving me the drive ( does that mean i paid to much?), after replacing the front nose gear (and being in progress of replacing the main gear) i decided to slam it on
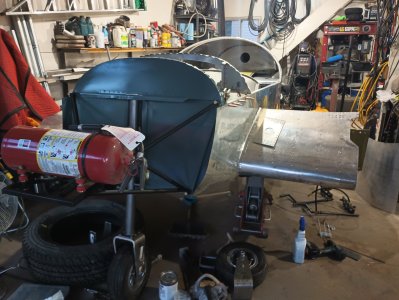
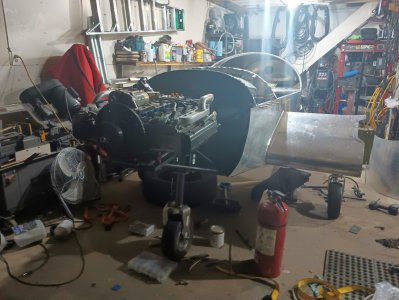
Fabricating the intake for the ma3 carburetor
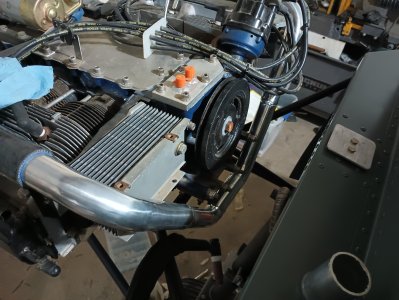
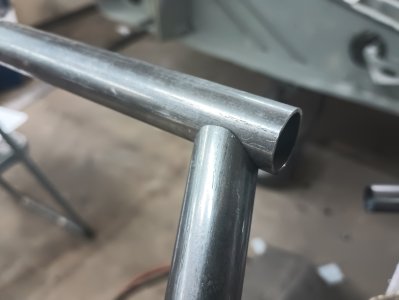
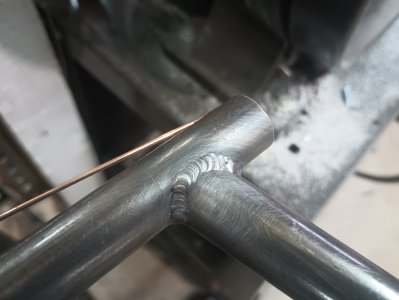
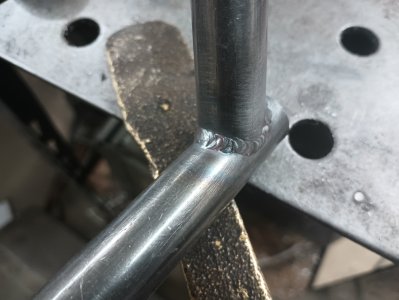
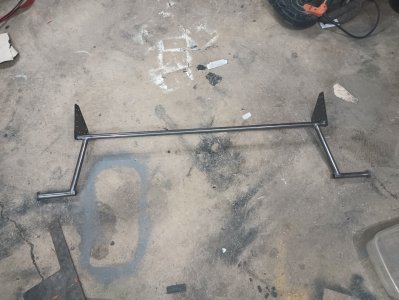
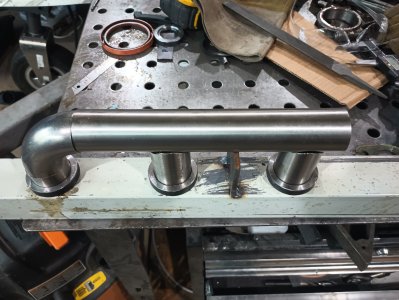
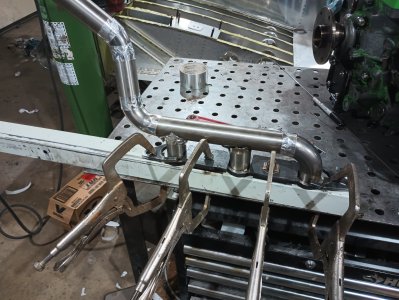
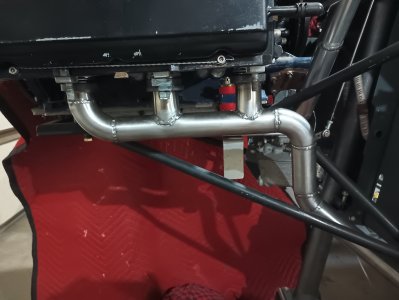
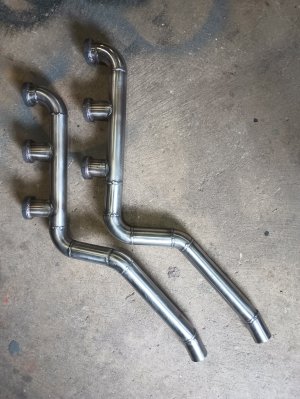
fabricating the exhaust, the welds are nothing to write home about, i think its time for glasses
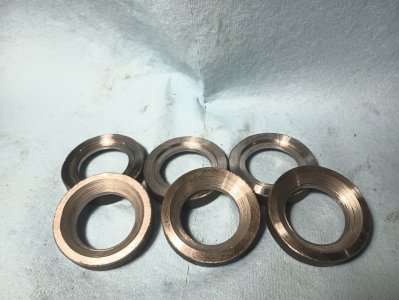
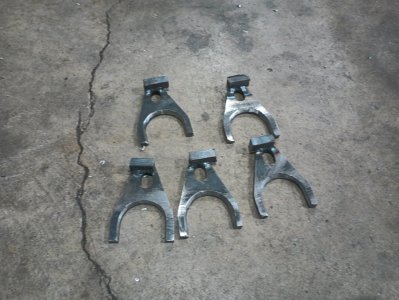
The odd ball exhaust manifold clamps cut with the cnc plasma, some work still to go on those
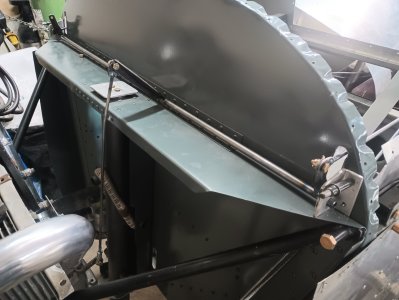
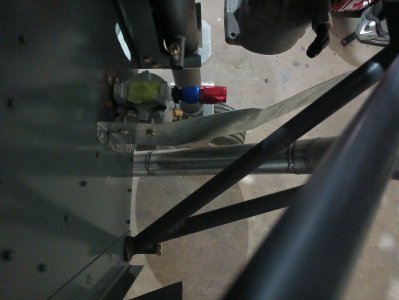
The exhaust heat shield and gascolator bolted to the firewall with the homemade npt-an bulkhead fitting...forgot to take a photo of that
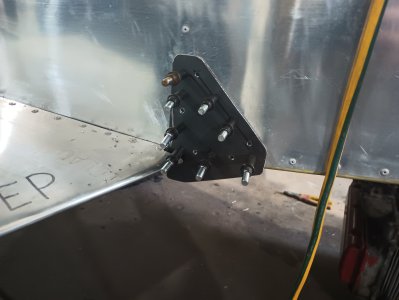
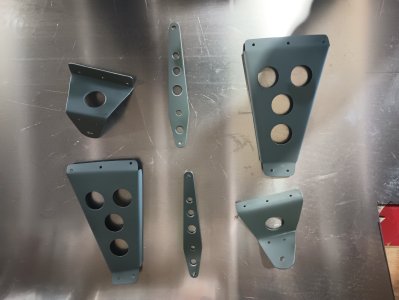
Had to make new mounts for the brake/rudder pedals, it looks like a few people had a go at making different mounts, extra holes, things crooked, i ended up make mounts that had some additional adjustment options....this isnt really a feature, just more of a way for me to use up all the extra bolt holes and not looks like swiss cheese, moving the rudder pedals would be a job, requiring new nose gear rods, and attachments for the rudder cables
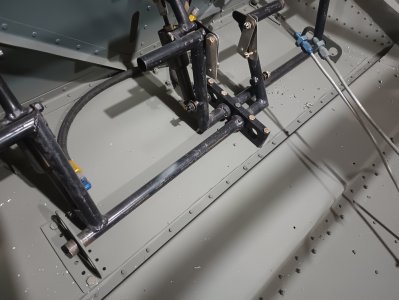
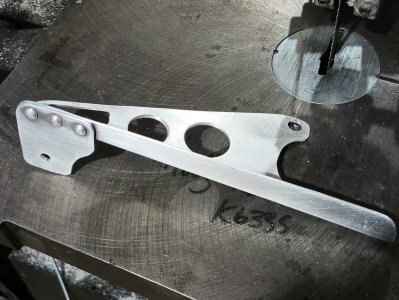
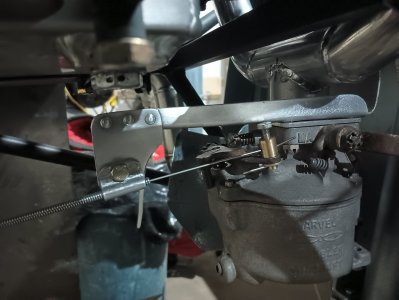
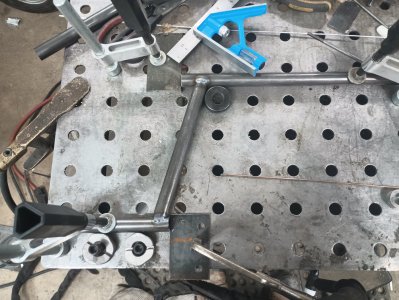
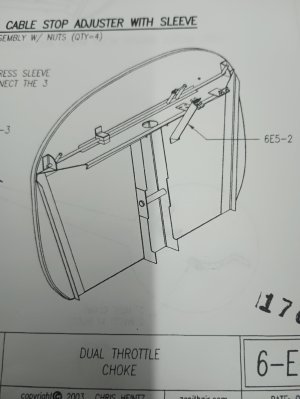
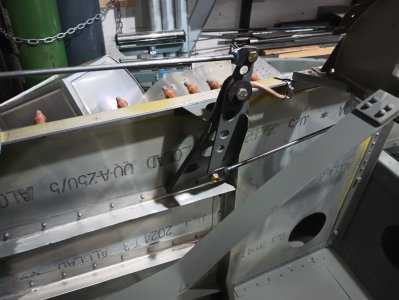
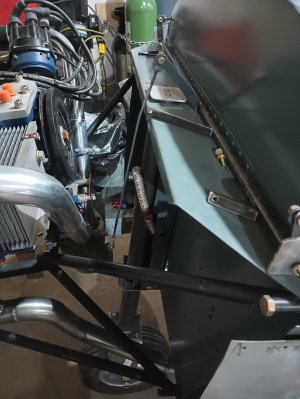
The throttle arrangement, not as simple as just a Bowden cable, i went through a couple different ideas i ended up with a set up similar to whats used with a 912, and although this is somewhat complicated and heavier than 2 Bowden cables it gives me the throw i want and eliminates the terrible routing i would need with a cable (the carburetor is backwards for various reasons), i also feel it should be pretty much bullet proof. The cranks reverse the direction of the throw, as well as more that double it, with just a cable i would end up with ~35mm from idle to WOT, i felt that would have been far to sensitive, the cranks turn the throw to almost 100mm.
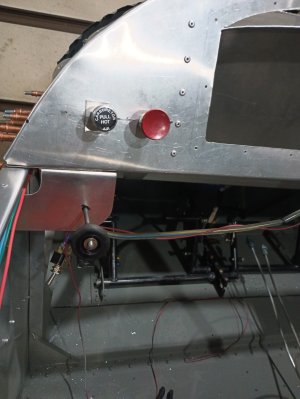
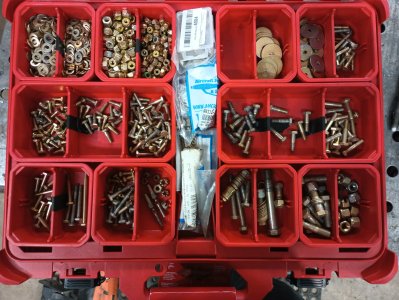
The tension will be achieved at the cranks by tightening the bolts on the delrin washers (cotter pin+castle nut), all of the hardware will be replaced with castle nuts/cotter pins and drilled bolts as well as oversized washers for the rod end and on the delrin washers. I have a piece of 3/8 4130 tube coming to replace the piece of rod that goes across the firewall. Still need to make a bracket at the dash as well as the two knobs.
A little video of that action, everything is very loose, i dont expect it to be so noisy with the proper hardware
anyways, thats it for now.
Its a pretty old project, the logs i have state the original builder started it in 1992, then sold it to a guy in Hanna Alberta, again in 1992, that guy sold it to two brothers in calgary in 2009, those two didnt do much other than buy parts (yey for me!), i then bought it from them in 2023 when it was time to sell the hangar it was in, firesale prices.
it came with plans, a mostly completed fuselage, logs, new gear, msc gauges, gps, radio, brakes, cannopy hardware, some tools, 2 gantry cranes. I find new things every time i look in the various boxes it came with.
It is a plans built aircraft, it doesn't quite have the perfect fitment of something like a vans and i suspect that will affect the cruise speed, not that this model is a speed demon, im hoping it will cruise at 100mph, but i feel i may be more realistic to hope for 85-90. If i want more speed there is the option to build a new outboard set of "speed wings" that bolt directly on, they are shorter, and tapered, giving it a higher cruise speed, sacrificing stall, take off distances higher landing speed, etc. I have the HD wings, so that is what im going to go with for now.
I have no real timeline for this, im just plugging away at little things until summer hits and i can drill out the wings for the pre-cover inspection, wich looks to have been done, but there is not official paperwork supporting it
Bringing it home

Bought a 0 time converted corvair engine with mount from a guy in Saskatchewan, delivered it to my door saving me the drive ( does that mean i paid to much?), after replacing the front nose gear (and being in progress of replacing the main gear) i decided to slam it on


Fabricating the intake for the ma3 carburetor

fabricating the exhaust, the welds are nothing to write home about, i think its time for glasses


The odd ball exhaust manifold clamps cut with the cnc plasma, some work still to go on those

The exhaust heat shield and gascolator bolted to the firewall with the homemade npt-an bulkhead fitting...forgot to take a photo of that

Had to make new mounts for the brake/rudder pedals, it looks like a few people had a go at making different mounts, extra holes, things crooked, i ended up make mounts that had some additional adjustment options....this isnt really a feature, just more of a way for me to use up all the extra bolt holes and not looks like swiss cheese, moving the rudder pedals would be a job, requiring new nose gear rods, and attachments for the rudder cables

The throttle arrangement, not as simple as just a Bowden cable, i went through a couple different ideas i ended up with a set up similar to whats used with a 912, and although this is somewhat complicated and heavier than 2 Bowden cables it gives me the throw i want and eliminates the terrible routing i would need with a cable (the carburetor is backwards for various reasons), i also feel it should be pretty much bullet proof. The cranks reverse the direction of the throw, as well as more that double it, with just a cable i would end up with ~35mm from idle to WOT, i felt that would have been far to sensitive, the cranks turn the throw to almost 100mm.
The tension will be achieved at the cranks by tightening the bolts on the delrin washers (cotter pin+castle nut), all of the hardware will be replaced with castle nuts/cotter pins and drilled bolts as well as oversized washers for the rod end and on the delrin washers. I have a piece of 3/8 4130 tube coming to replace the piece of rod that goes across the firewall. Still need to make a bracket at the dash as well as the two knobs.


A little video of that action, everything is very loose, i dont expect it to be so noisy with the proper hardware
anyways, thats it for now.

