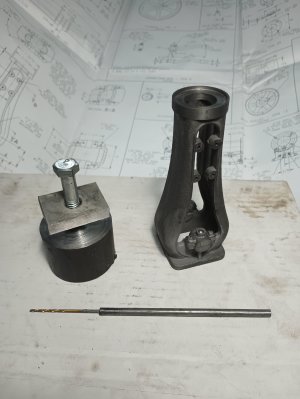
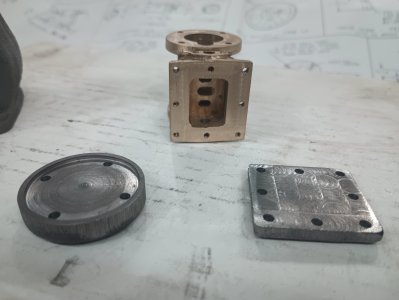
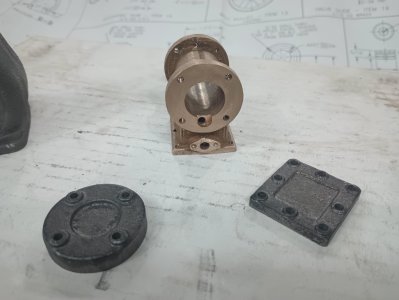
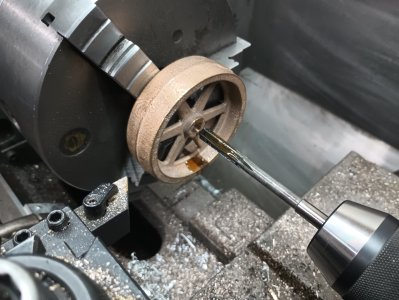
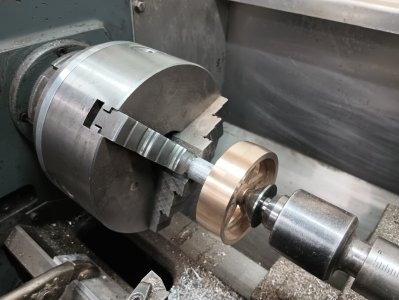
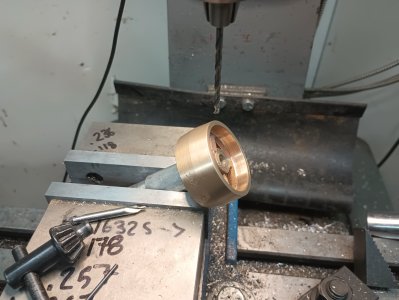
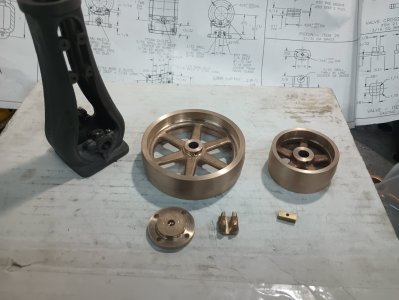
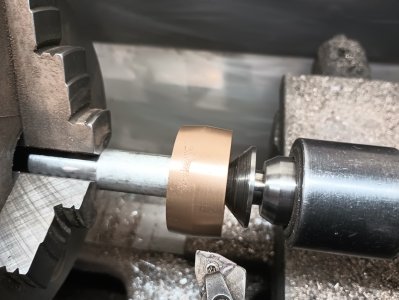
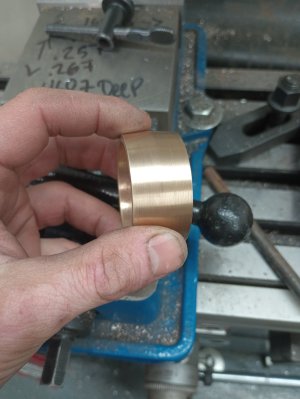
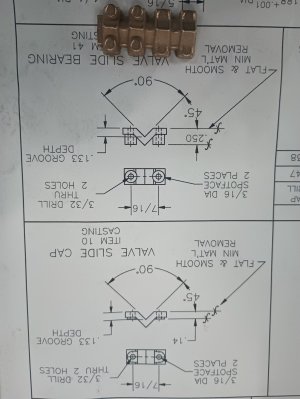
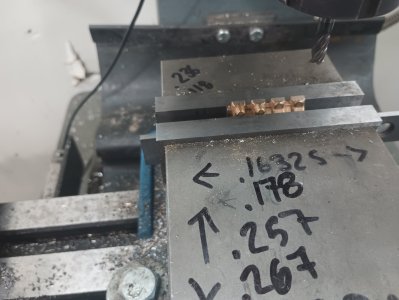
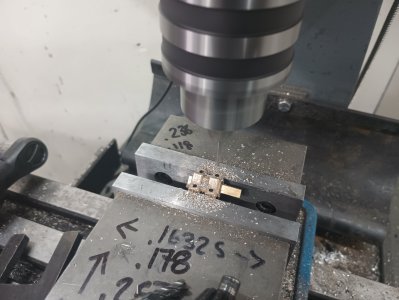
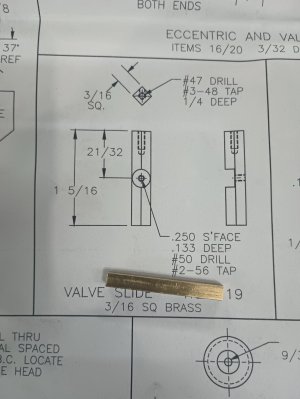
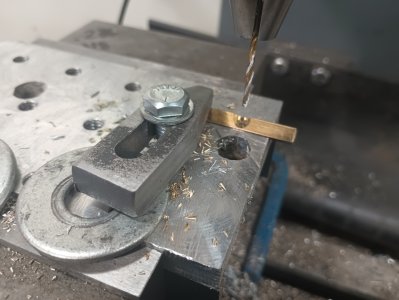
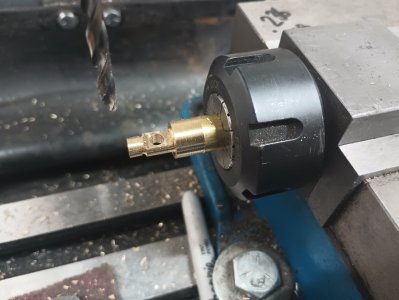
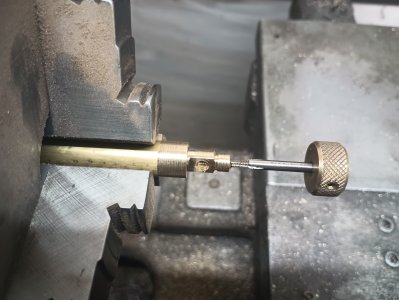
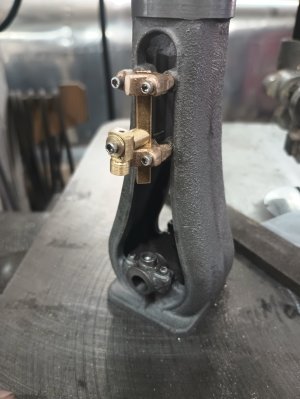
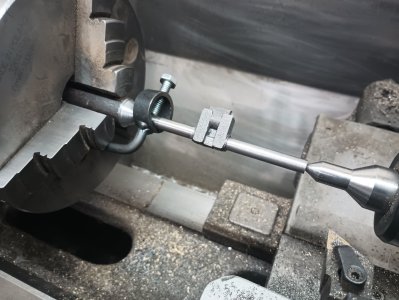
Lets pile on one more project! The box for this little guy has been staring at me from under the mill for almost 2 years now (i bought it the same time i bought the #1 model engine kit), i figured with work being slow i should check things off the list, and this guy being already paid for AND having all of the tooling from the last steam engine would make a perfect candidate, its also giving me a break from the airplane and its associated spending
This one has a few different challenges that were not in the #1, it should keep me busy for a little while
![IMG_20250211_174908324[1].jpg IMG_20250211_174908324[1].jpg](https://canadianhobbymetalworkers.com/data/attachments/67/67387-8b3949788e894b92db059062baa5d1d7.jpg?hash=CfHwL6JwEh)
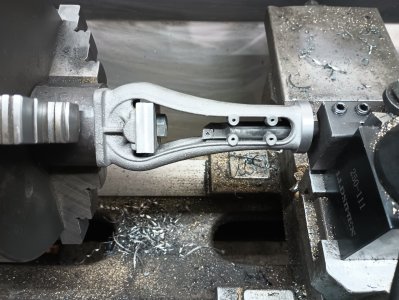
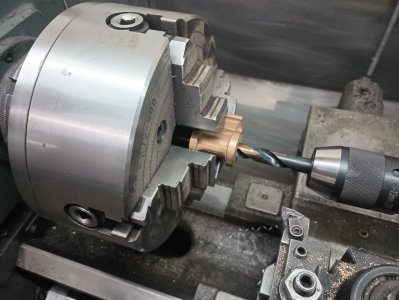
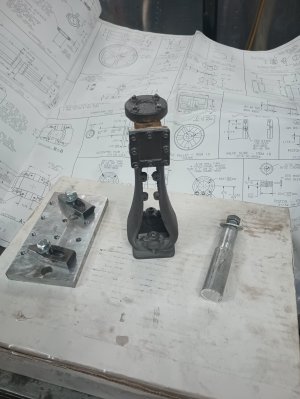
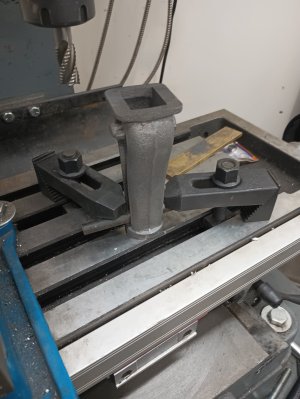
Ive started with the main frame of the engine. Trying to get a reference surface to work from with casing is a bit tricky, nothing is flat, square or straight, first thing i did was file/sand the bottom of the coke bottle somewhat flat, put it on the mill with a square, and measure the top from 4 sides, trying to get it as plumb as possible. Once i was satisfied that it was about as plumb as it was ever going to be it was time to clamp it to the table and mill the area where the cylinder will mount, taking off as little as possible, this is just a reference/square surface to work from.
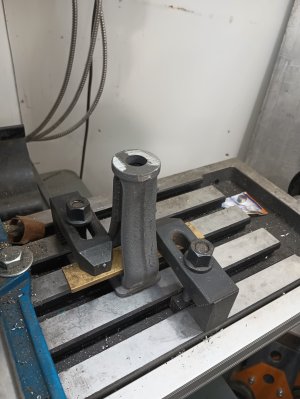
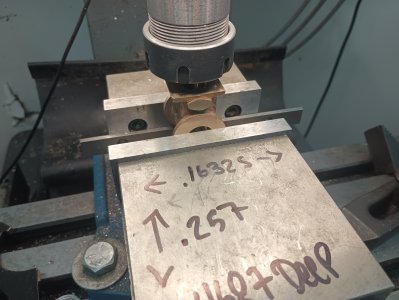
After milling off the top, it was time to flip it over, this was not a great setup, i had to take many small shallow cuts to avoid it chattering all over the place
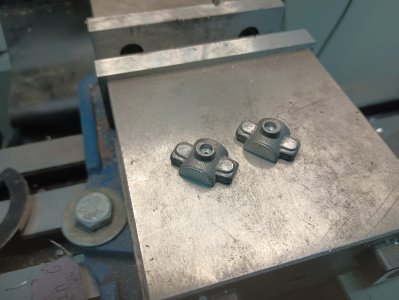
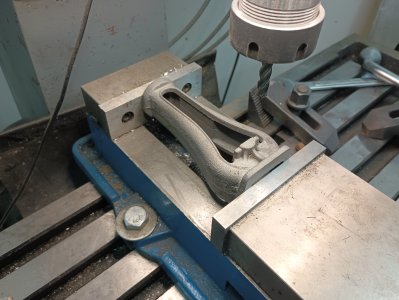
finally with two square parallel faces i was able to put it in the vise (barely) and clean up/mill to dimension the bearing faces
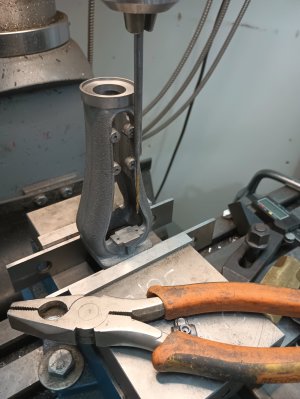
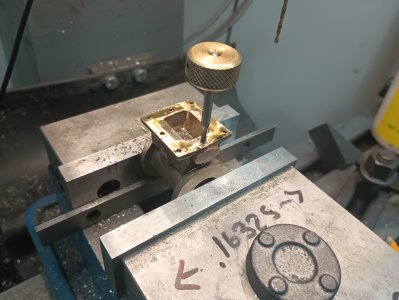
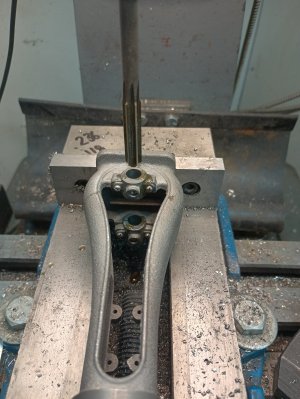
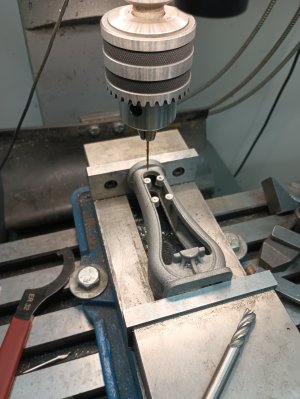
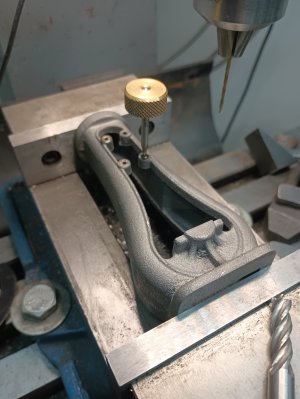
Flip over, clean up the cross slide support bosses, drill, and tap the 4 2-56 threaded holes....im amazed i haven't broken one of these 2-56 taps yet
Thats it for tonight.
This one has a few different challenges that were not in the #1, it should keep me busy for a little while
![IMG_20250211_174908324[1].jpg IMG_20250211_174908324[1].jpg](https://canadianhobbymetalworkers.com/data/attachments/67/67387-8b3949788e894b92db059062baa5d1d7.jpg?hash=CfHwL6JwEh)
Ive started with the main frame of the engine. Trying to get a reference surface to work from with casing is a bit tricky, nothing is flat, square or straight, first thing i did was file/sand the bottom of the coke bottle somewhat flat, put it on the mill with a square, and measure the top from 4 sides, trying to get it as plumb as possible. Once i was satisfied that it was about as plumb as it was ever going to be it was time to clamp it to the table and mill the area where the cylinder will mount, taking off as little as possible, this is just a reference/square surface to work from.

After milling off the top, it was time to flip it over, this was not a great setup, i had to take many small shallow cuts to avoid it chattering all over the place

finally with two square parallel faces i was able to put it in the vise (barely) and clean up/mill to dimension the bearing faces

Flip over, clean up the cross slide support bosses, drill, and tap the 4 2-56 threaded holes....im amazed i haven't broken one of these 2-56 taps yet


Thats it for tonight.


