• Scam Alert. Members are reminded to NOT send money to buy anything. Don't buy things remote and have it shipped - go get it yourself, pay in person, and take your equipment with you. Scammers have burned people on this forum. Urgency, secrecy, excuses, selling for friend, newish members, FUD, are RED FLAGS. A video conference call is not adequate assurance. Face to face interactions are required. Please report suspicions to the forum admins. Stay Safe - anyone can get scammed.

Must Be Loco

Ishmael

Well-Known Member
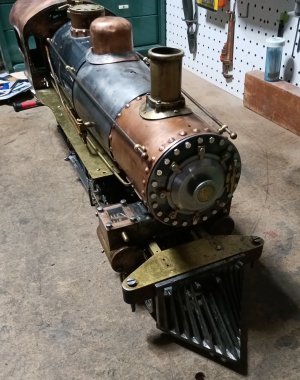
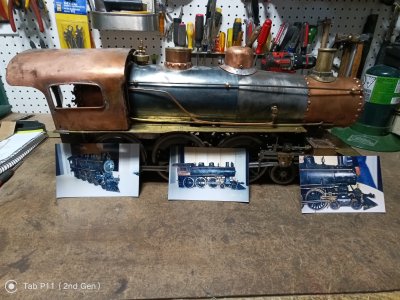
Finally working on a Baldwin-type 3.5" gauge live steam locomotive found in pieces and incomplete in a picnic cooler about 20 years ago. Had some "before" pictures that came with it; they've been a help.

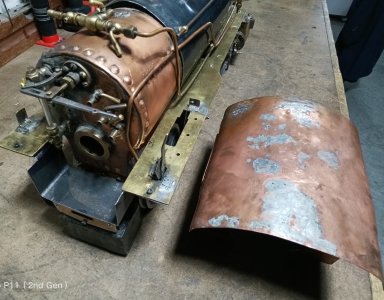
Cleaned up the chassis, made the missing connecting rods, re-worked the valves, and got here with it:


Now making other pieces and starting to see what it all looks like.
 

Attachments

  • IMG_20250101_143429235 (1).jpg
    IMG_20250101_143429235 (1).jpg
    870.3 KB · Views: 18
  • IMG_20250101_143504095 (1).jpg
    IMG_20250101_143504095 (1).jpg
    1.5 MB · Views: 18
  • IMG_20250101_143351703.jpg
    IMG_20250101_143351703.jpg
    1.6 MB · Views: 18
Great work, the con-rods look absolutely authentic. Seems to run just fine and considering the age and condition when you got it, that probably qualifies as a minor miracle!

When you say you 'reworked the valves', do you mean that you just had to adjust the timing or were there more problems?

Craig
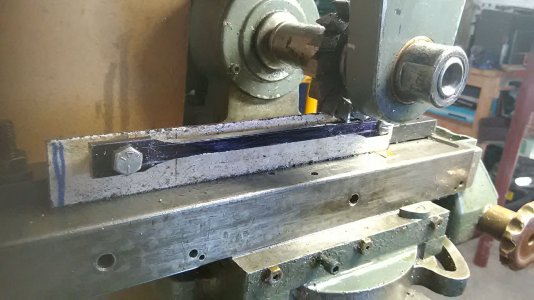
Thanks for noticing the connecting rods. They're far from perfect, but they're the best I could do with my Burke #4 mill. I had a hard time getting the fluting right.

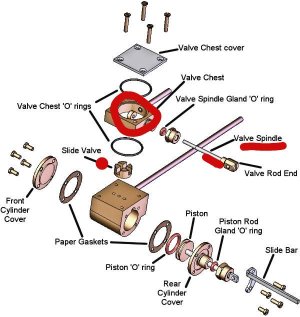
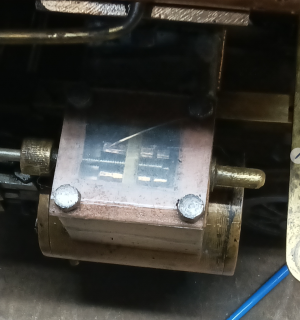
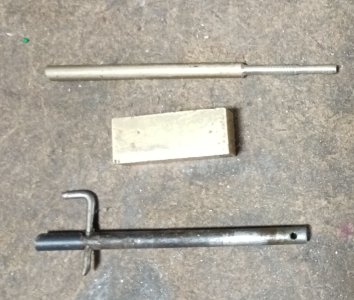
As for the valves, the original builder sort of stuck the spindles (not threaded) into the valves with bent nails, and this left no room for adjustment without removing the boiler and playing with the eccentrics to make a change, so I made new spindles from an old clock chime rod, threaded them, re-machined the valves to accept a threaded adjustment block (something like the little doughnut shown in the centre of the valve chest in the accompanying diagram, only rectangular), stuck it all together, adjusted valve travel with the new spindles, re-timed things, and it actually ran.

I have attached pictures of the making of the connecting rods, the old and new valve spindles, a new spindle installed, and a diagram to illustrate what I did with the valves. I trust that I make myself obscure....

By the way, the entire smokebox door assembly was missing, so I made a new one, too.

Now, on to the dome, the bell, the light, the cab, and more.
 

Attachments

  • Steam Cylinder and Slide Valve Parts.jpg
    Steam Cylinder and Slide Valve Parts.jpg
    60.1 KB · Views: 8
  • New Valve Spindle Installed.png
    New Valve Spindle Installed.png
    1.5 MB · Views: 7
  • Valve Spindles Before and After (1).jpg
    Valve Spindles Before and After (1).jpg
    505.5 KB · Views: 6
  • IMG_20231214_113357.jpg
    IMG_20231214_113357.jpg
    183.1 KB · Views: 6
  • IMG_20231124_141622.jpg
    IMG_20231124_141622.jpg
    250.8 KB · Views: 6
Last edited:
Back
Top