Did you ever come up with a neat idea, but not act on it. Then one day you see something almost identical commercially available & say, Dangit - that's my idea! And then wonder... maybe I actually saw it in the catalog just flipping pages but didn't pay attention. Then RE-invented a slightly crappier version of what was probably sitting deep in your grey matter stew? LOL
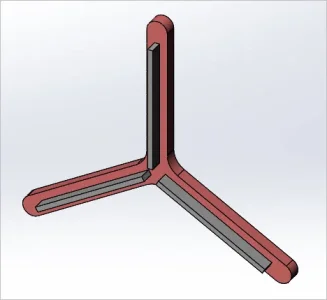
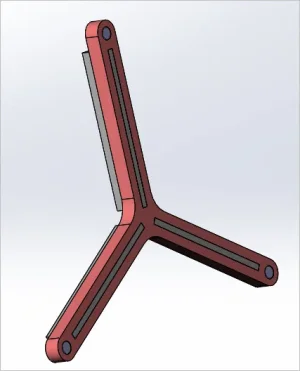
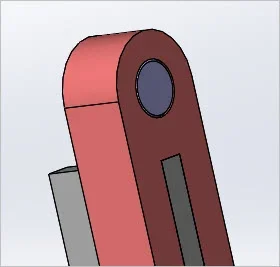
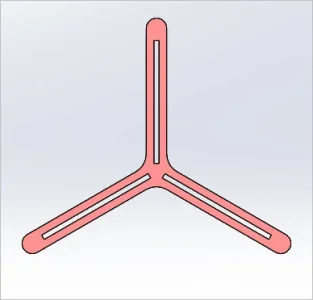
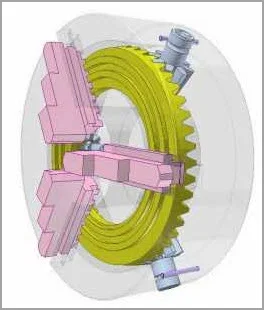
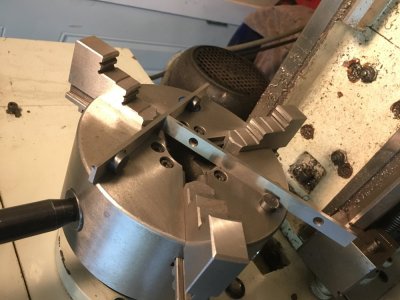
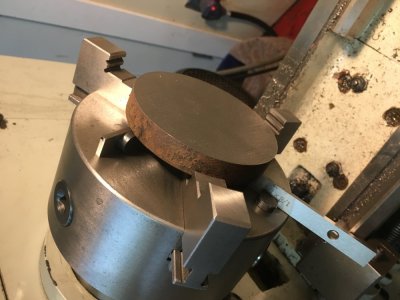
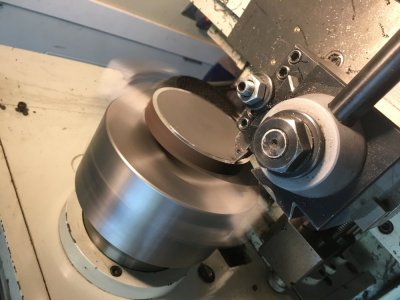
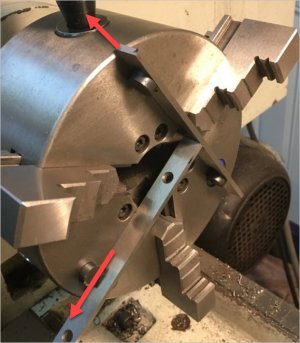
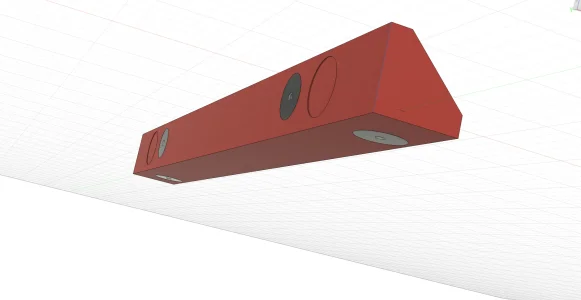
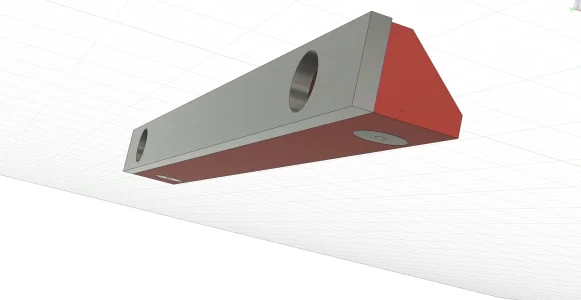
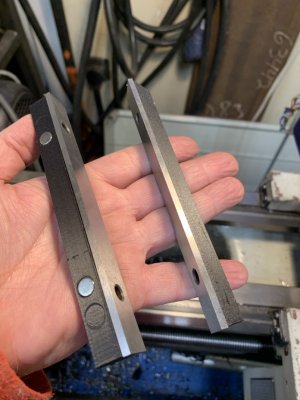
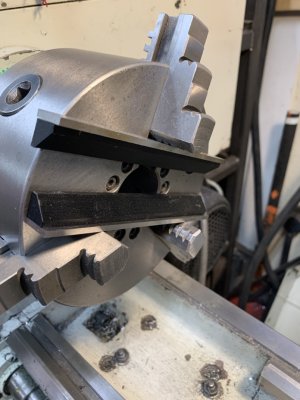
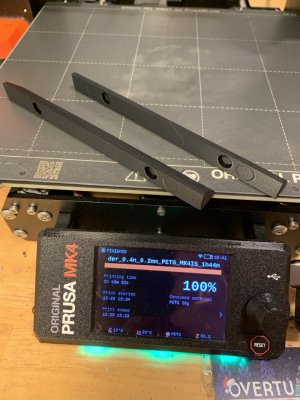
Anyways... I wanted to wait & see how my Shapeways 3DP mag stand flashlight holder thingy turned out. If quality & price was ok I had other gadgets to make. This was one of them. A plastic holder that accommodates inserting 3 parallels so you can create a nice accurate back stop for turning thin pieces to various standoff distances. The back side has molded depressions for mini high strength magnets so the frame stays put. The parallels fit into the slots & are trapped between the chuck body & work. Unfortunately parallels are sold in pairs, not threesomes. But I previously bought this mini length set from LMS for small vise setups a while back, figured I could get another. Even the cheapo ones are not so cheap though. https://littlemachineshop.com/products/product_view.php?ProductID=3946&category=
Lo & behold, Edge sells a similar unit c/w parallels. They secure them with bolts which is probably safer but also fiddly. They integrate a chuck centering feature which I guess is useful. Anyway 149 USD for the kit.
http://www.shars.com/chuck-stop-set
Early bird gets the worm!

