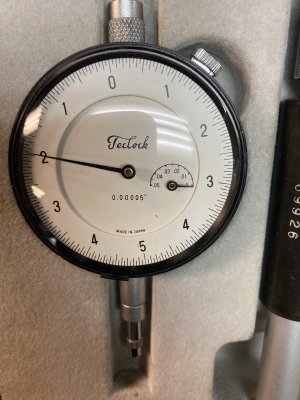
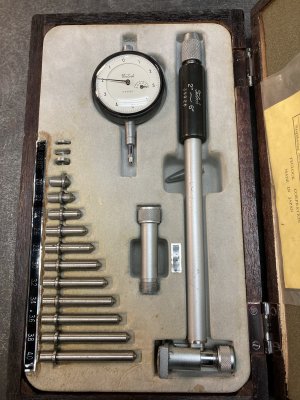
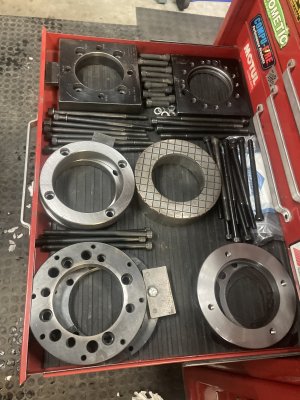
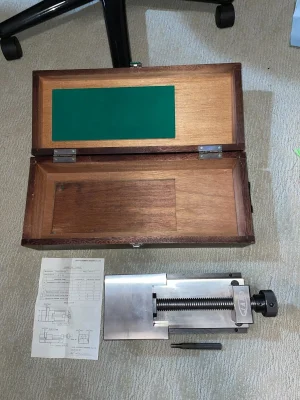
Good stuff Jeff......these are where the micrometer stand becomes a necessity!
Unless everything is perfectly climate controlled, even touching the stuff is going to throw off the readings.
Heat expansion will effect the readings, but this whole climate control thing is over done imo. If things are close to room temperature, the amount of expansion is negligible, so you take that into account. Use flood coolant or wait for a part to cool down when doing really finicky work.
A 5F temp difference in temp on a 1" bore equates to 1/2 a tenth. If the temp variance is between the part and the measuring instrument, you incur the error. However if the variance is ambient to the calibration temp (68F), i.e. micrometer and work are at the same temp, the error is mostly mitigated as both the mic and work are made of steel so subject to the same amount of expansion.
Just keep your wits about you. If you don't have much of a variance between the work and instrument, the error from heat expansion should be less that what we can measure/machine to.
Is that sort of precision even useful? Unless everything is perfectly climate controlled, even touching the stuff is going to throw off the readings.
Not an everyday absolutely required sort of thing, but still a definite resounding yes. Why? Fits of course! Two kinds fits, running and interference.
Running fits. I You want a running fit of .001" (bearing or sliding gear on a shaft) How are going have a chance at this if you can't measure reliably to something less that .001". Measure the bore and carefully turn/grind the OD for a perfect amount of clearance.
Interference fits can be a real challenge. Its usually sub thou accuracy. The most challenging I ever need to do is for high end bearings; e.g. P4 Angular contact bearing fits when making a spindle. The bearings might be $700 and have an acceptable tolerance range of .0001" or less. Challenging stuff. and you don't want to mess it up. A lost cause if you can't measure it.
I've Mit gauges in tenths and microns. Microns are a challenge, even when grinding its seems you can get a bit of flicker with surface finish. Less so if honing (Sunnen). To take full advantage of that level of bore measurement accuracy, imo the work needs grinding or honing so surface finish is not affecting the measurement much. However even if boring on the lathe or mill, if it lets you reliably machine to .0005 or .0003, that's 2-3x better than a thou and the difference between success and failure on many fits.
Point being.....you don't have to be working to a tenth, to benefit from being able to measure to a tenth.
