-
Scam Alert. Members are reminded to NOT send money to buy anything. Don't buy things remote and have it shipped - go get it yourself, pay in person, and take your equipment with you. Scammers have burned people on this forum. Urgency, secrecy, excuses, selling for friend, newish members, FUD, are RED FLAGS. A video conference call is not adequate assurance. Face to face interactions are required. Please report suspicions to the forum admins. Stay Safe - anyone can get scammed.
You are using an out of date browser. It may not display this or other websites correctly.
You should upgrade or use an alternative browser.
You should upgrade or use an alternative browser.
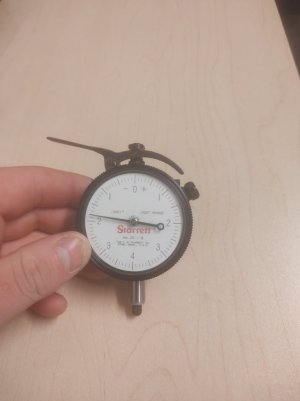
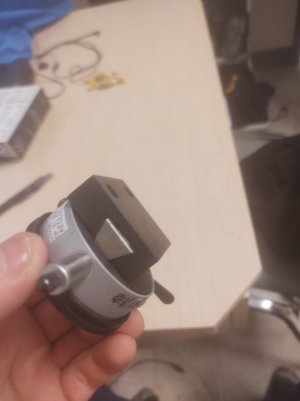
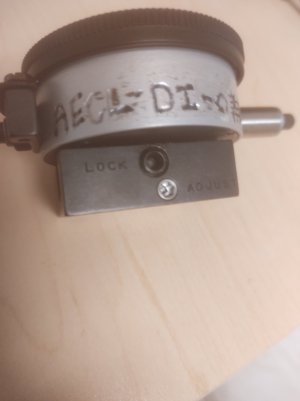
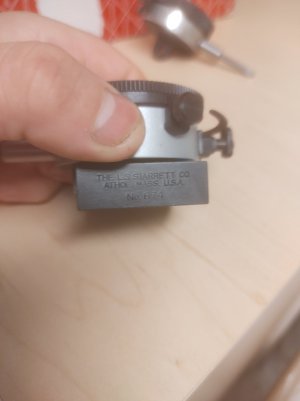
Dial indicator with odd configuration
- Thread starter justin1
- Start date
Rather than pull back on the plunger to slip something under them to measure, you could use the lever to pull it back and then set it gently down on the work. Faster for repetitive measurements and less likely to let the plunger slip and damage it.
Ye the the base part is adjustable maybe not the dovetail part it's self.I’ve seen these in fixtures as a thickness gauge.Is the dovetail adjustable?
I assumed it mounted to something with a base for QCing parts or use on surface plate?
Attachments
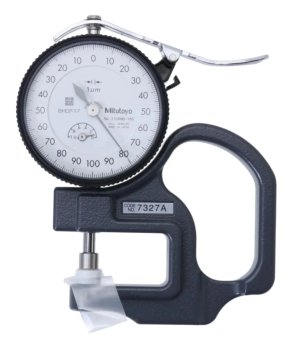
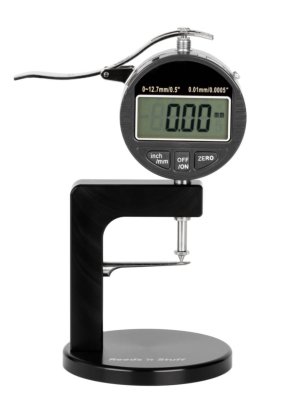
More likely to have been used to do rapid inspections of product on a moving line, either as a straight measuring device, or as a plus-minus comparator (by setting the zero point at a target dimension, and gaging the product to see if it is over or under the required thickness. The two pictures in post #2 show this.Ye the the base part is adjustable maybe not the dovetail part it's self.
I assumed it mounted to something with a base for QCing parts or use on surface plate?
Not so much a "Inspection" tool, as a rapid gaging device that can be used quickly and easily, esp without shutting down the production facility just to check something not very critical to see if it is wandering, or as the hairy one above says, rapid, repetitive checking of otherwise same parts.

